I finally got around to mounting my Wilson weBoost Home 4G Cell Phone Booster Antenna on the roof. Here’s some pictures of the completed install. I’ve had this booster for a while and it’s worked great, however some new cell towers went up in the area, and I wanted to stop using the window mount and re aim the antenna.
Wilson weBoost Home 4G Cell Phone Booster Roof Outdoor Antenna
For those of you wanting to read my original post on the Wilson weBoost Home 4G Cell Phone Booster Kit, installation, and a review, you can find it at https://www.stephenwagner.com/2017/06/01/cellmobile-phone-reception-issues-resolve-with-a-wilson-amplifier-cell-booster/.
The house that I live in, actually had a roof mounted satellite dish that was no longer in use (used before the provider ran coax in the area). The dish, roof mount, and coax were all in place, however the coax was cut so I couldn’t re-use it.
I was able to remove 2 of the bolts on the satelite dish to remove it from the pole mount, and proceeded to install the antenna on the pole using the outdoor mounting kit included with the cell booster. I was extremely pleased with the install.
See below for more pics:

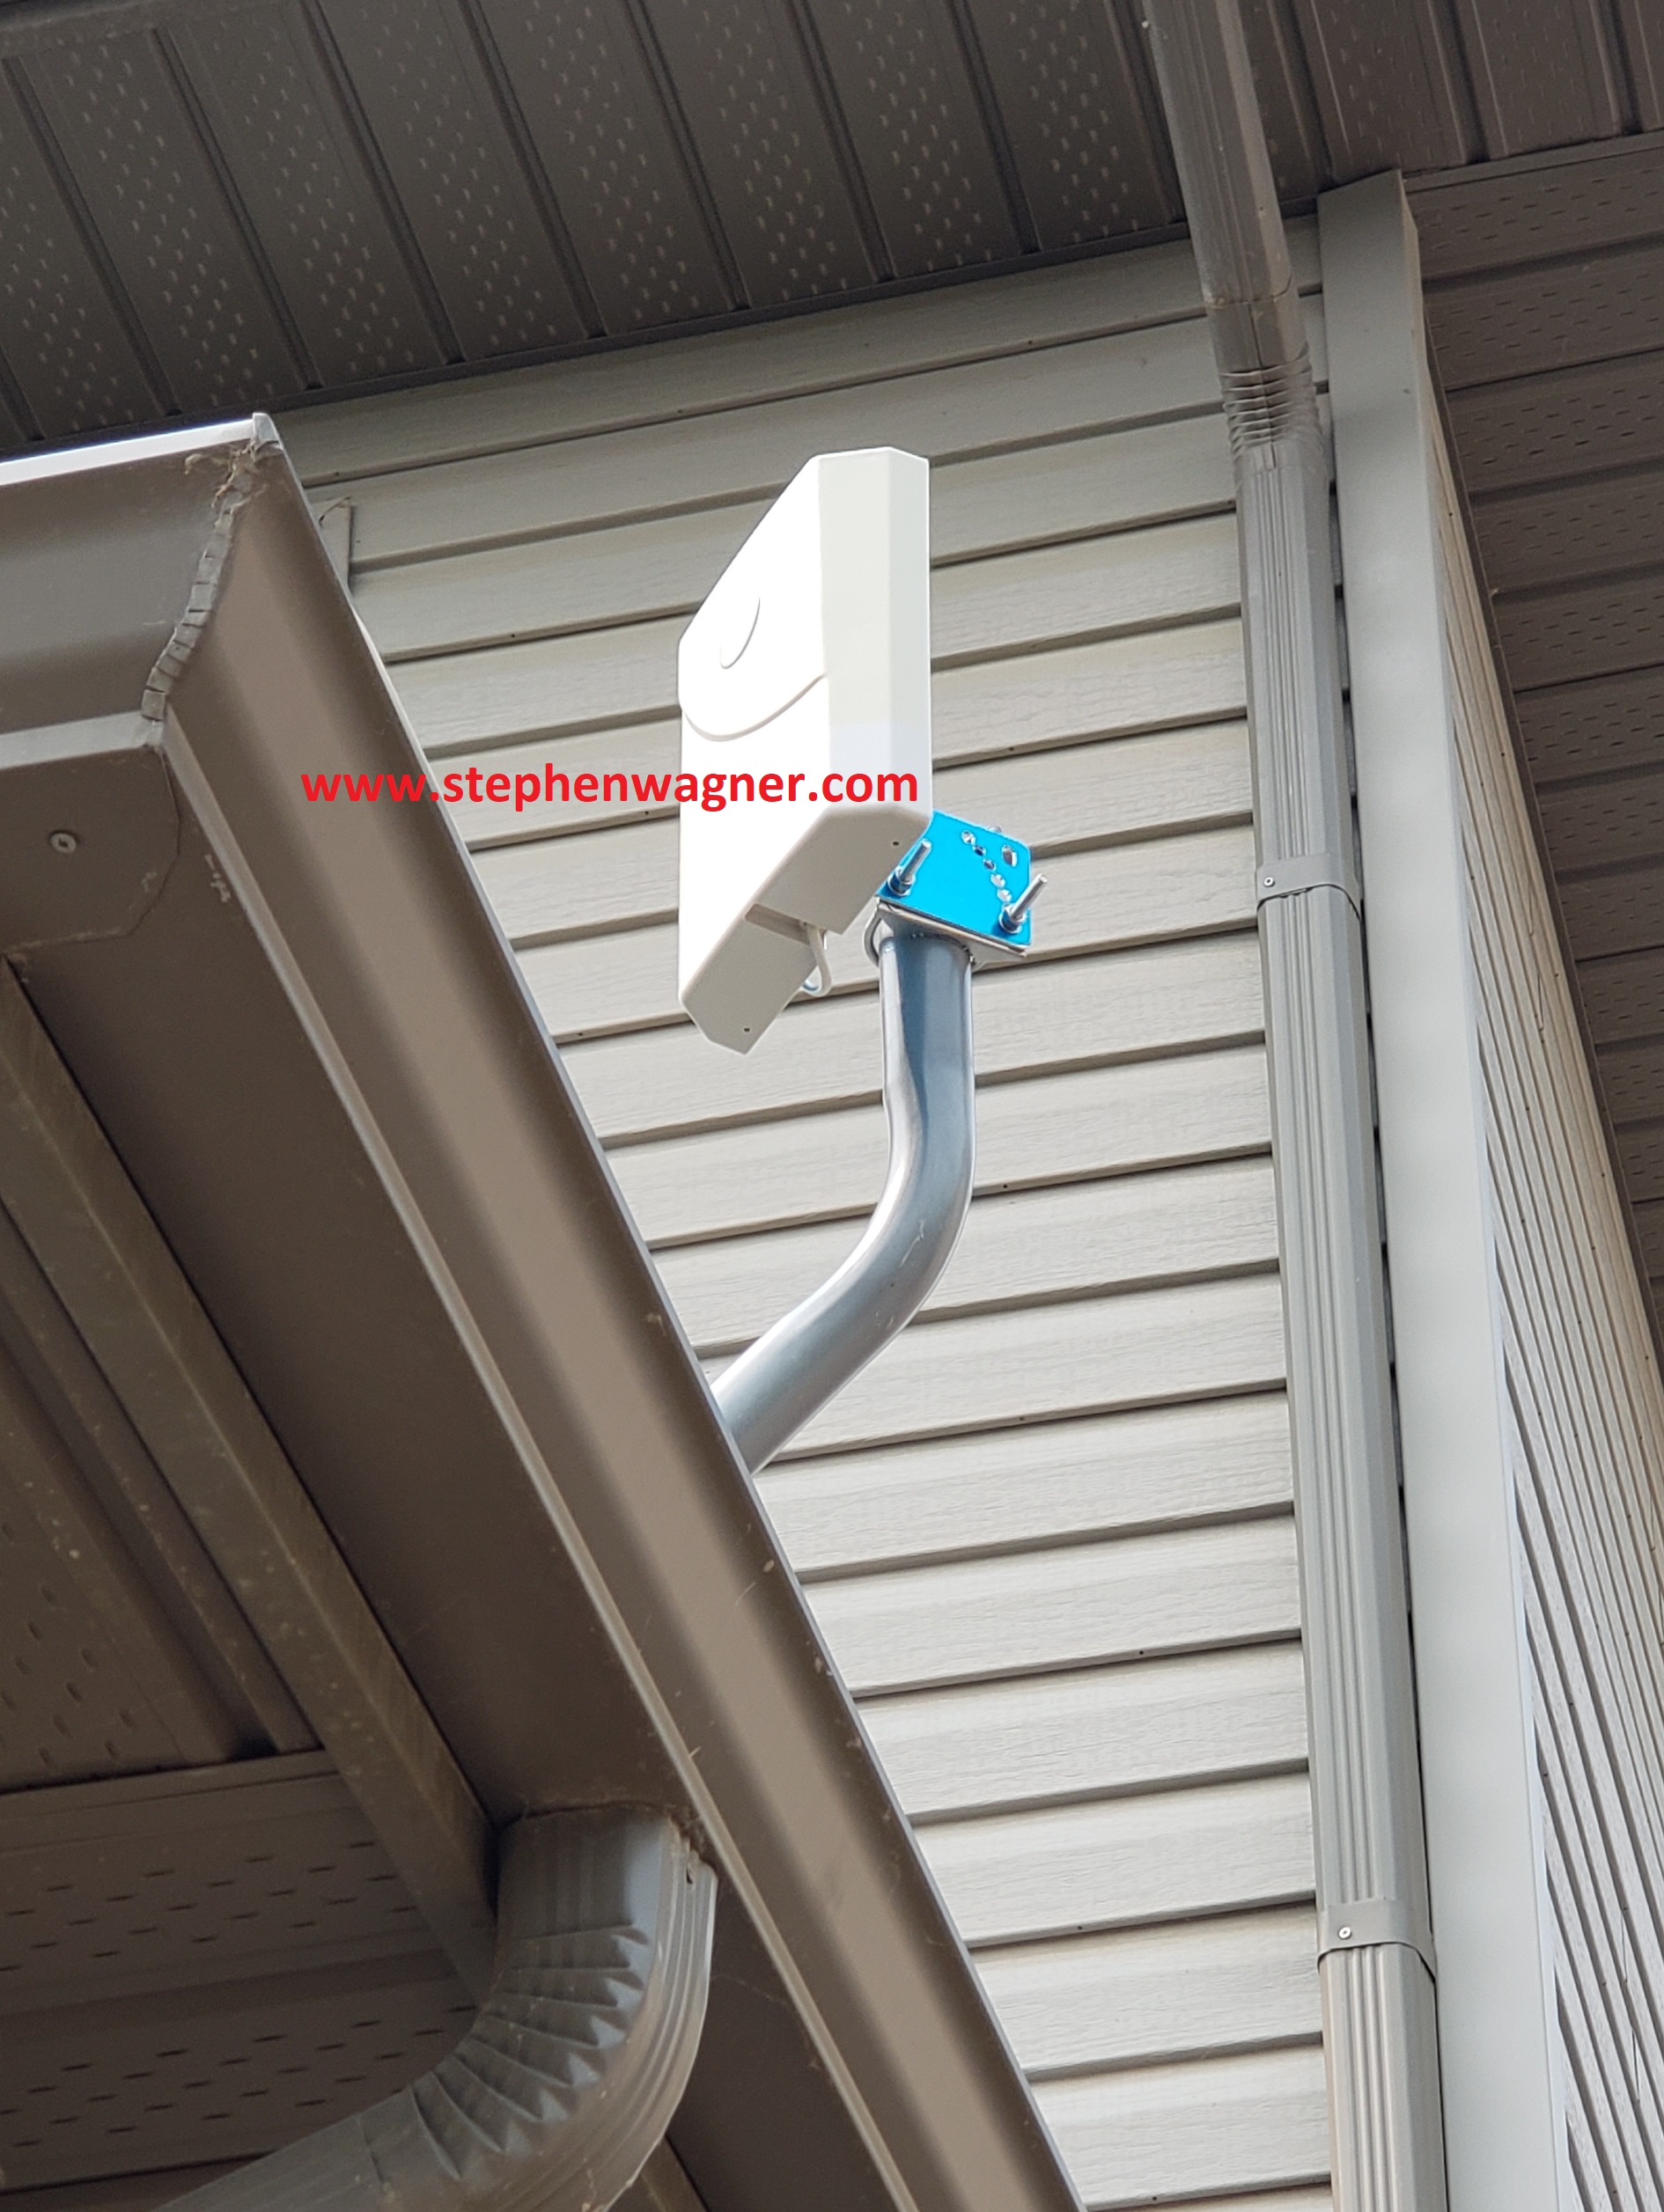
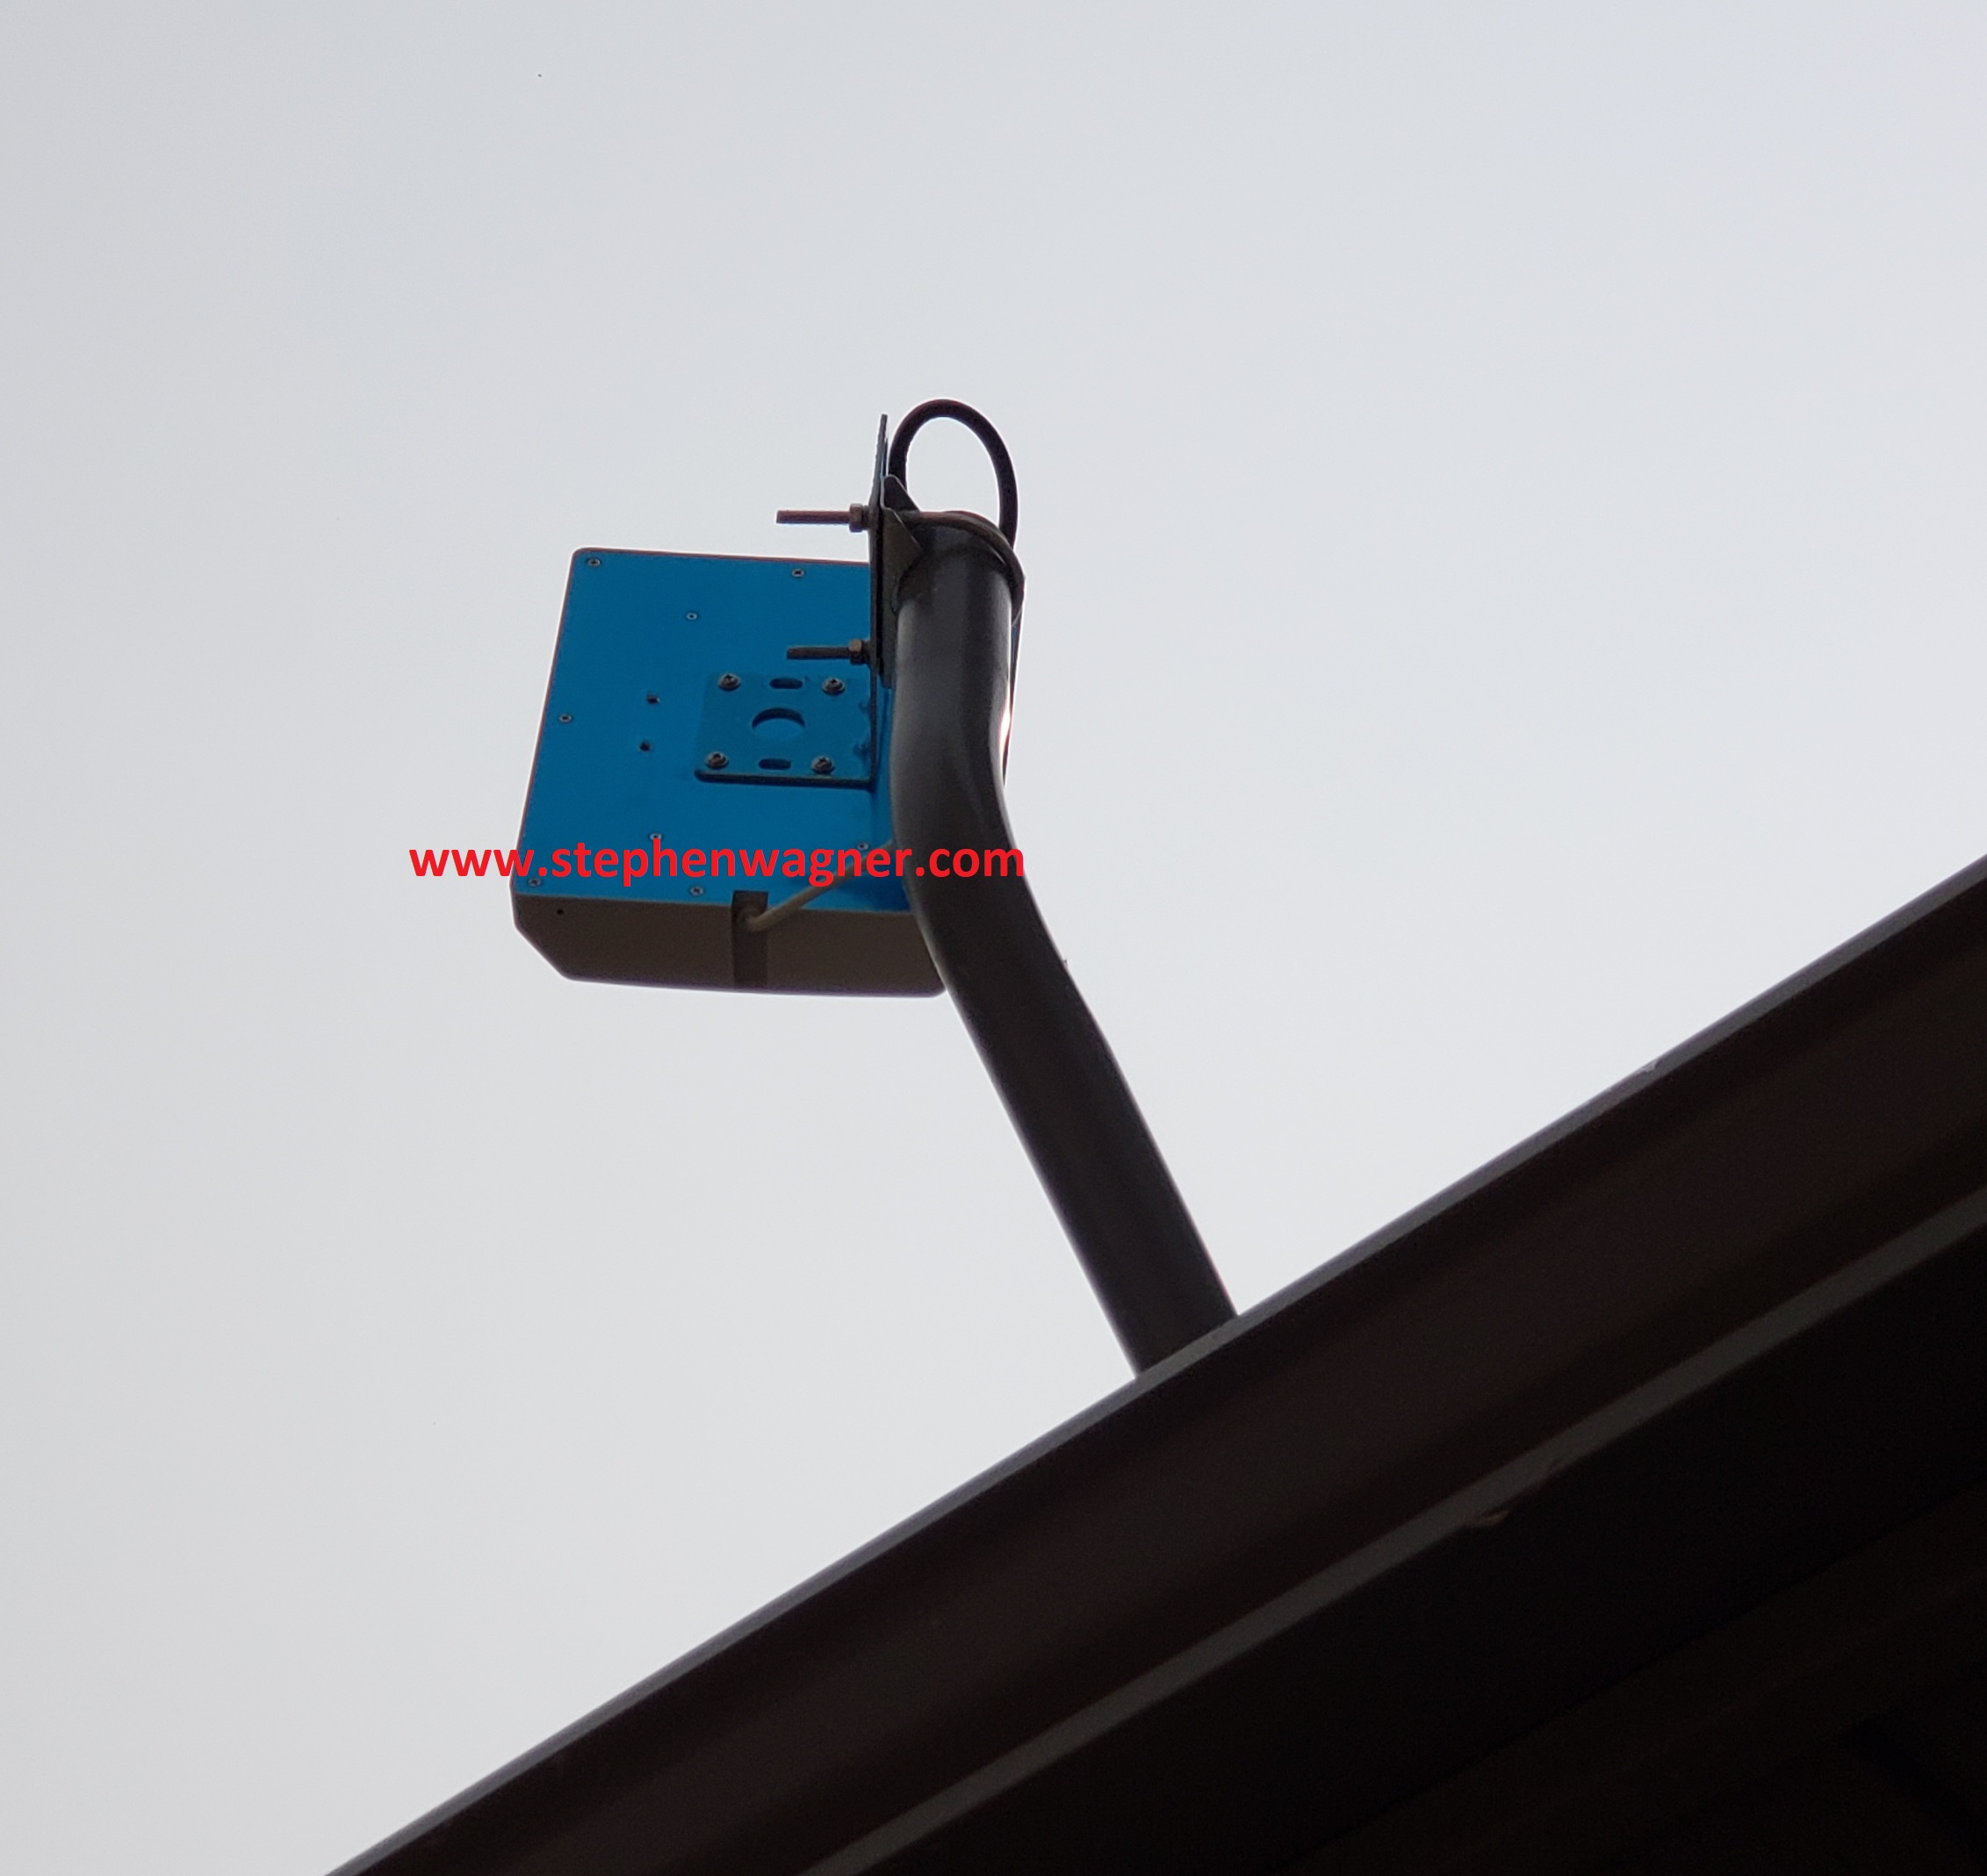
Roof mounted Wilson weBoost Home 4G Cell Phone Booster Kit
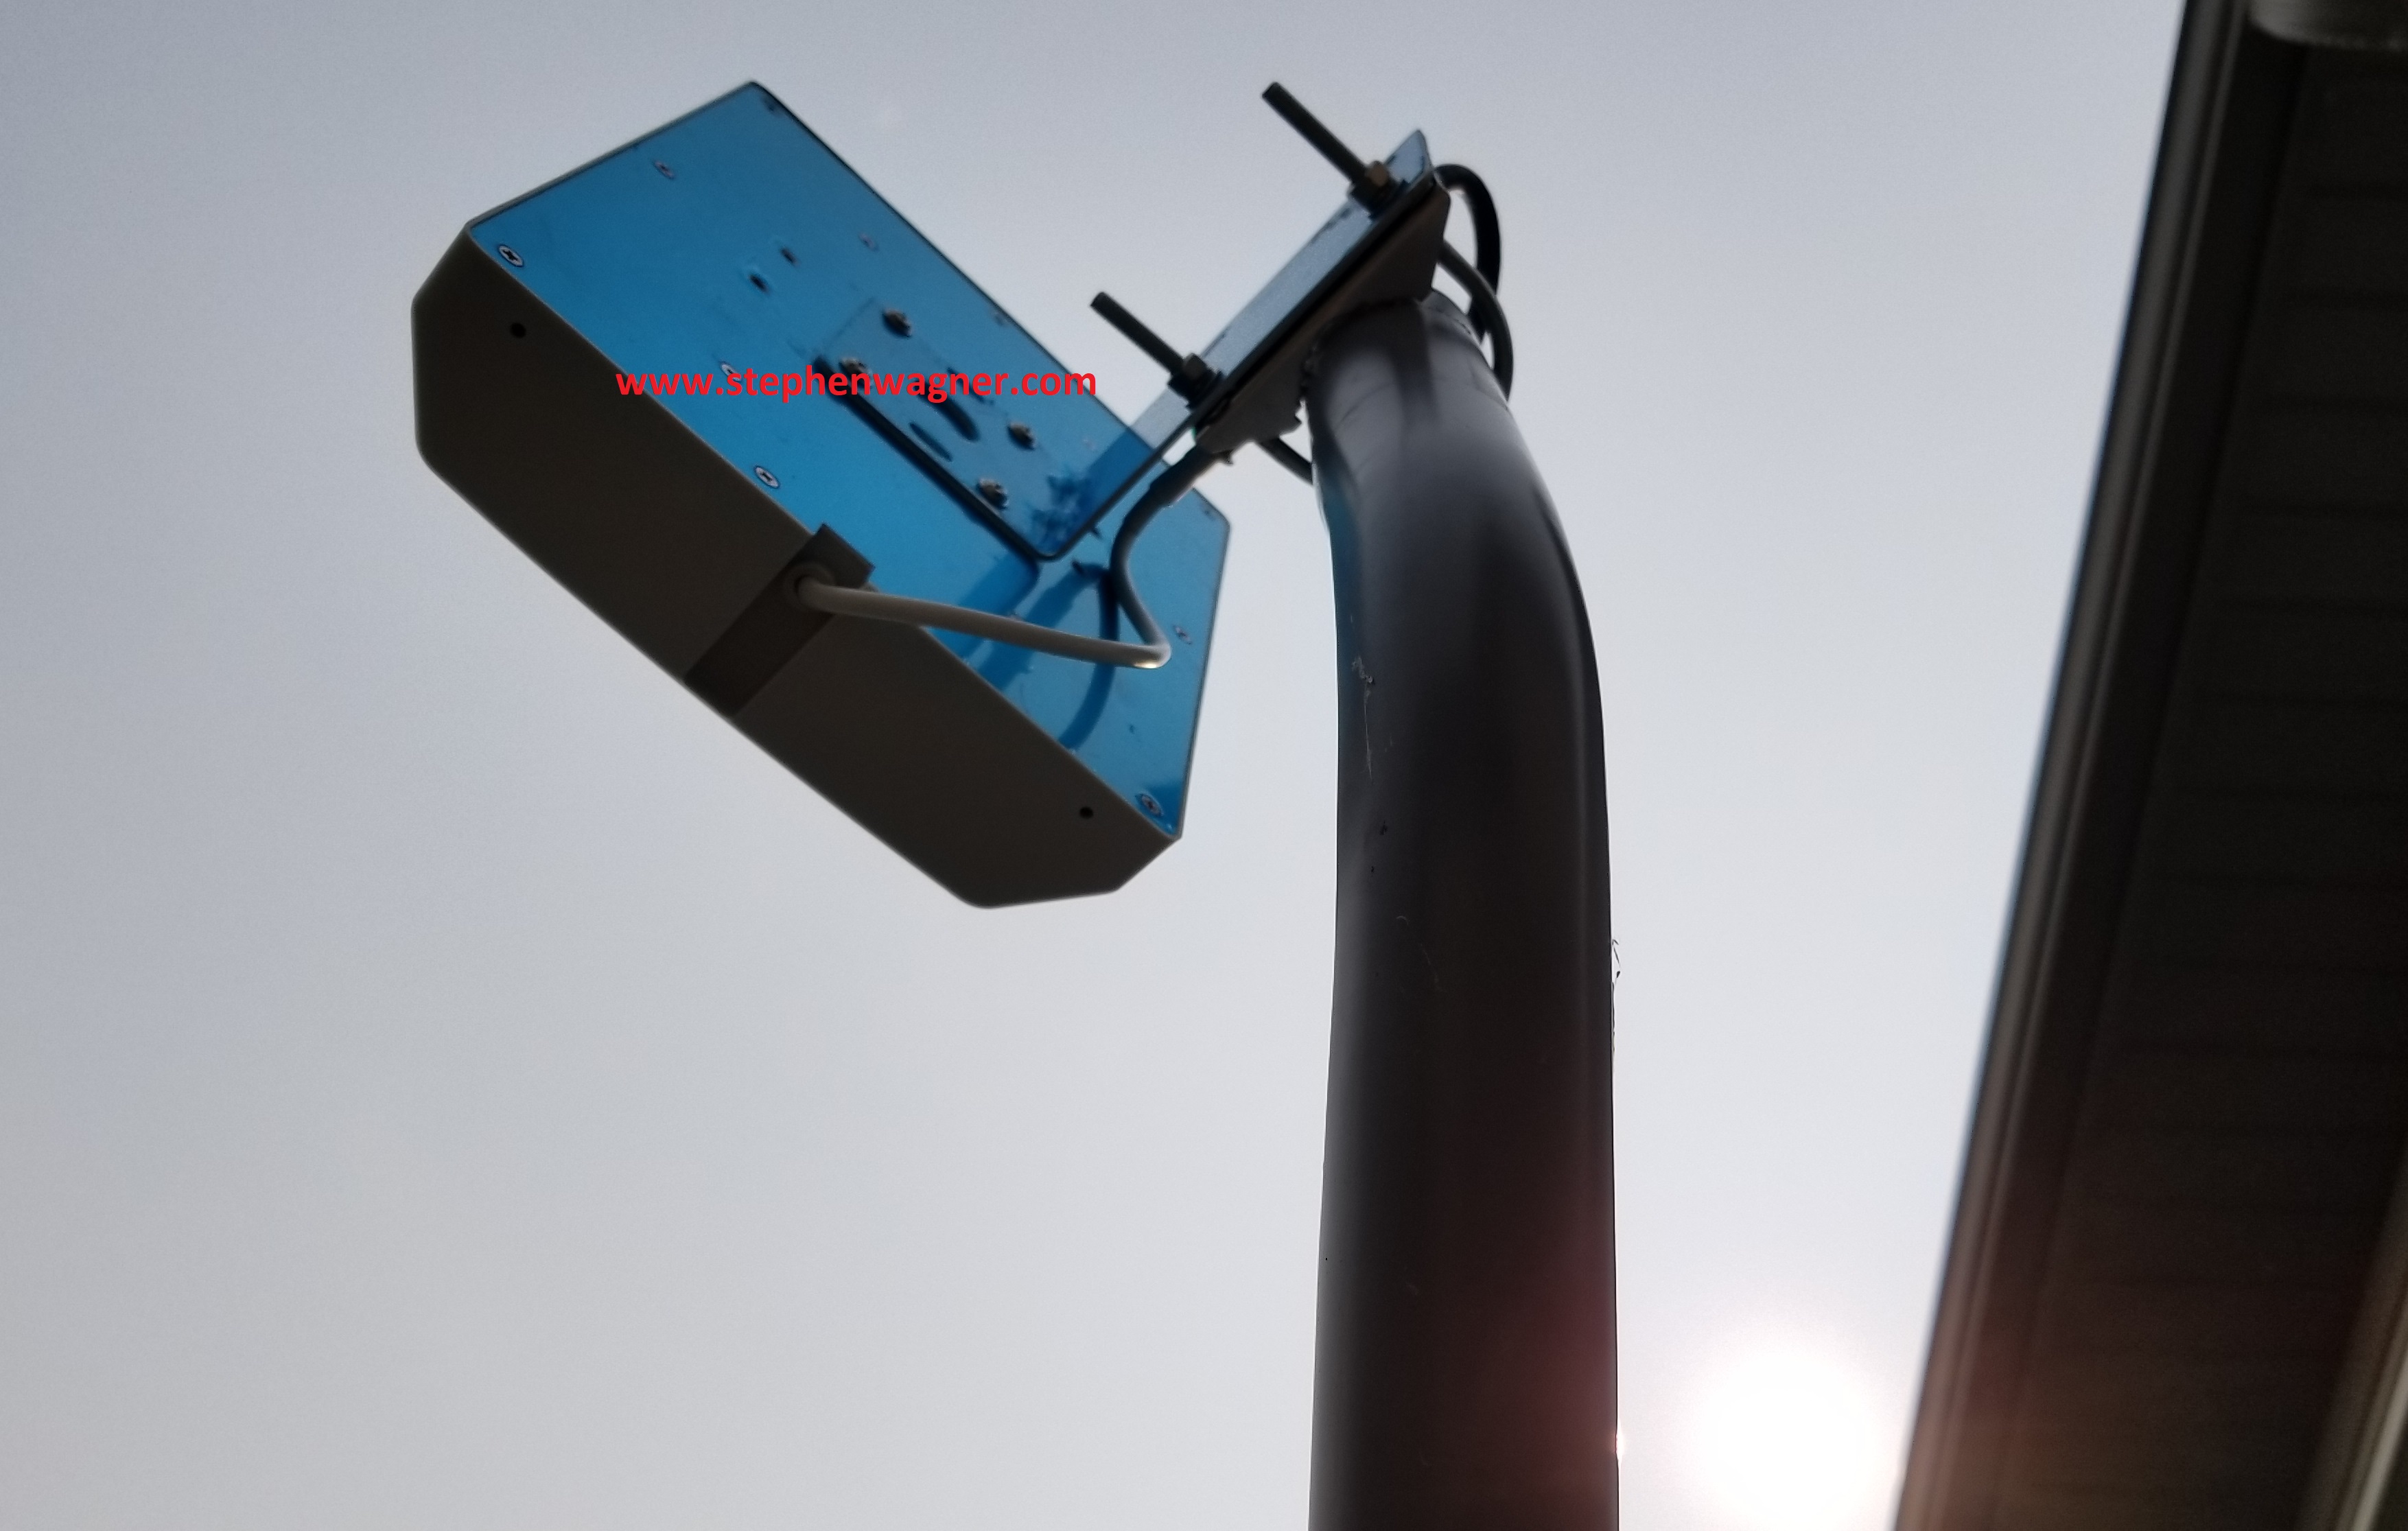
Roof mounted Wilson weBoost Home 4G Cell Phone Booster Kit Cabling
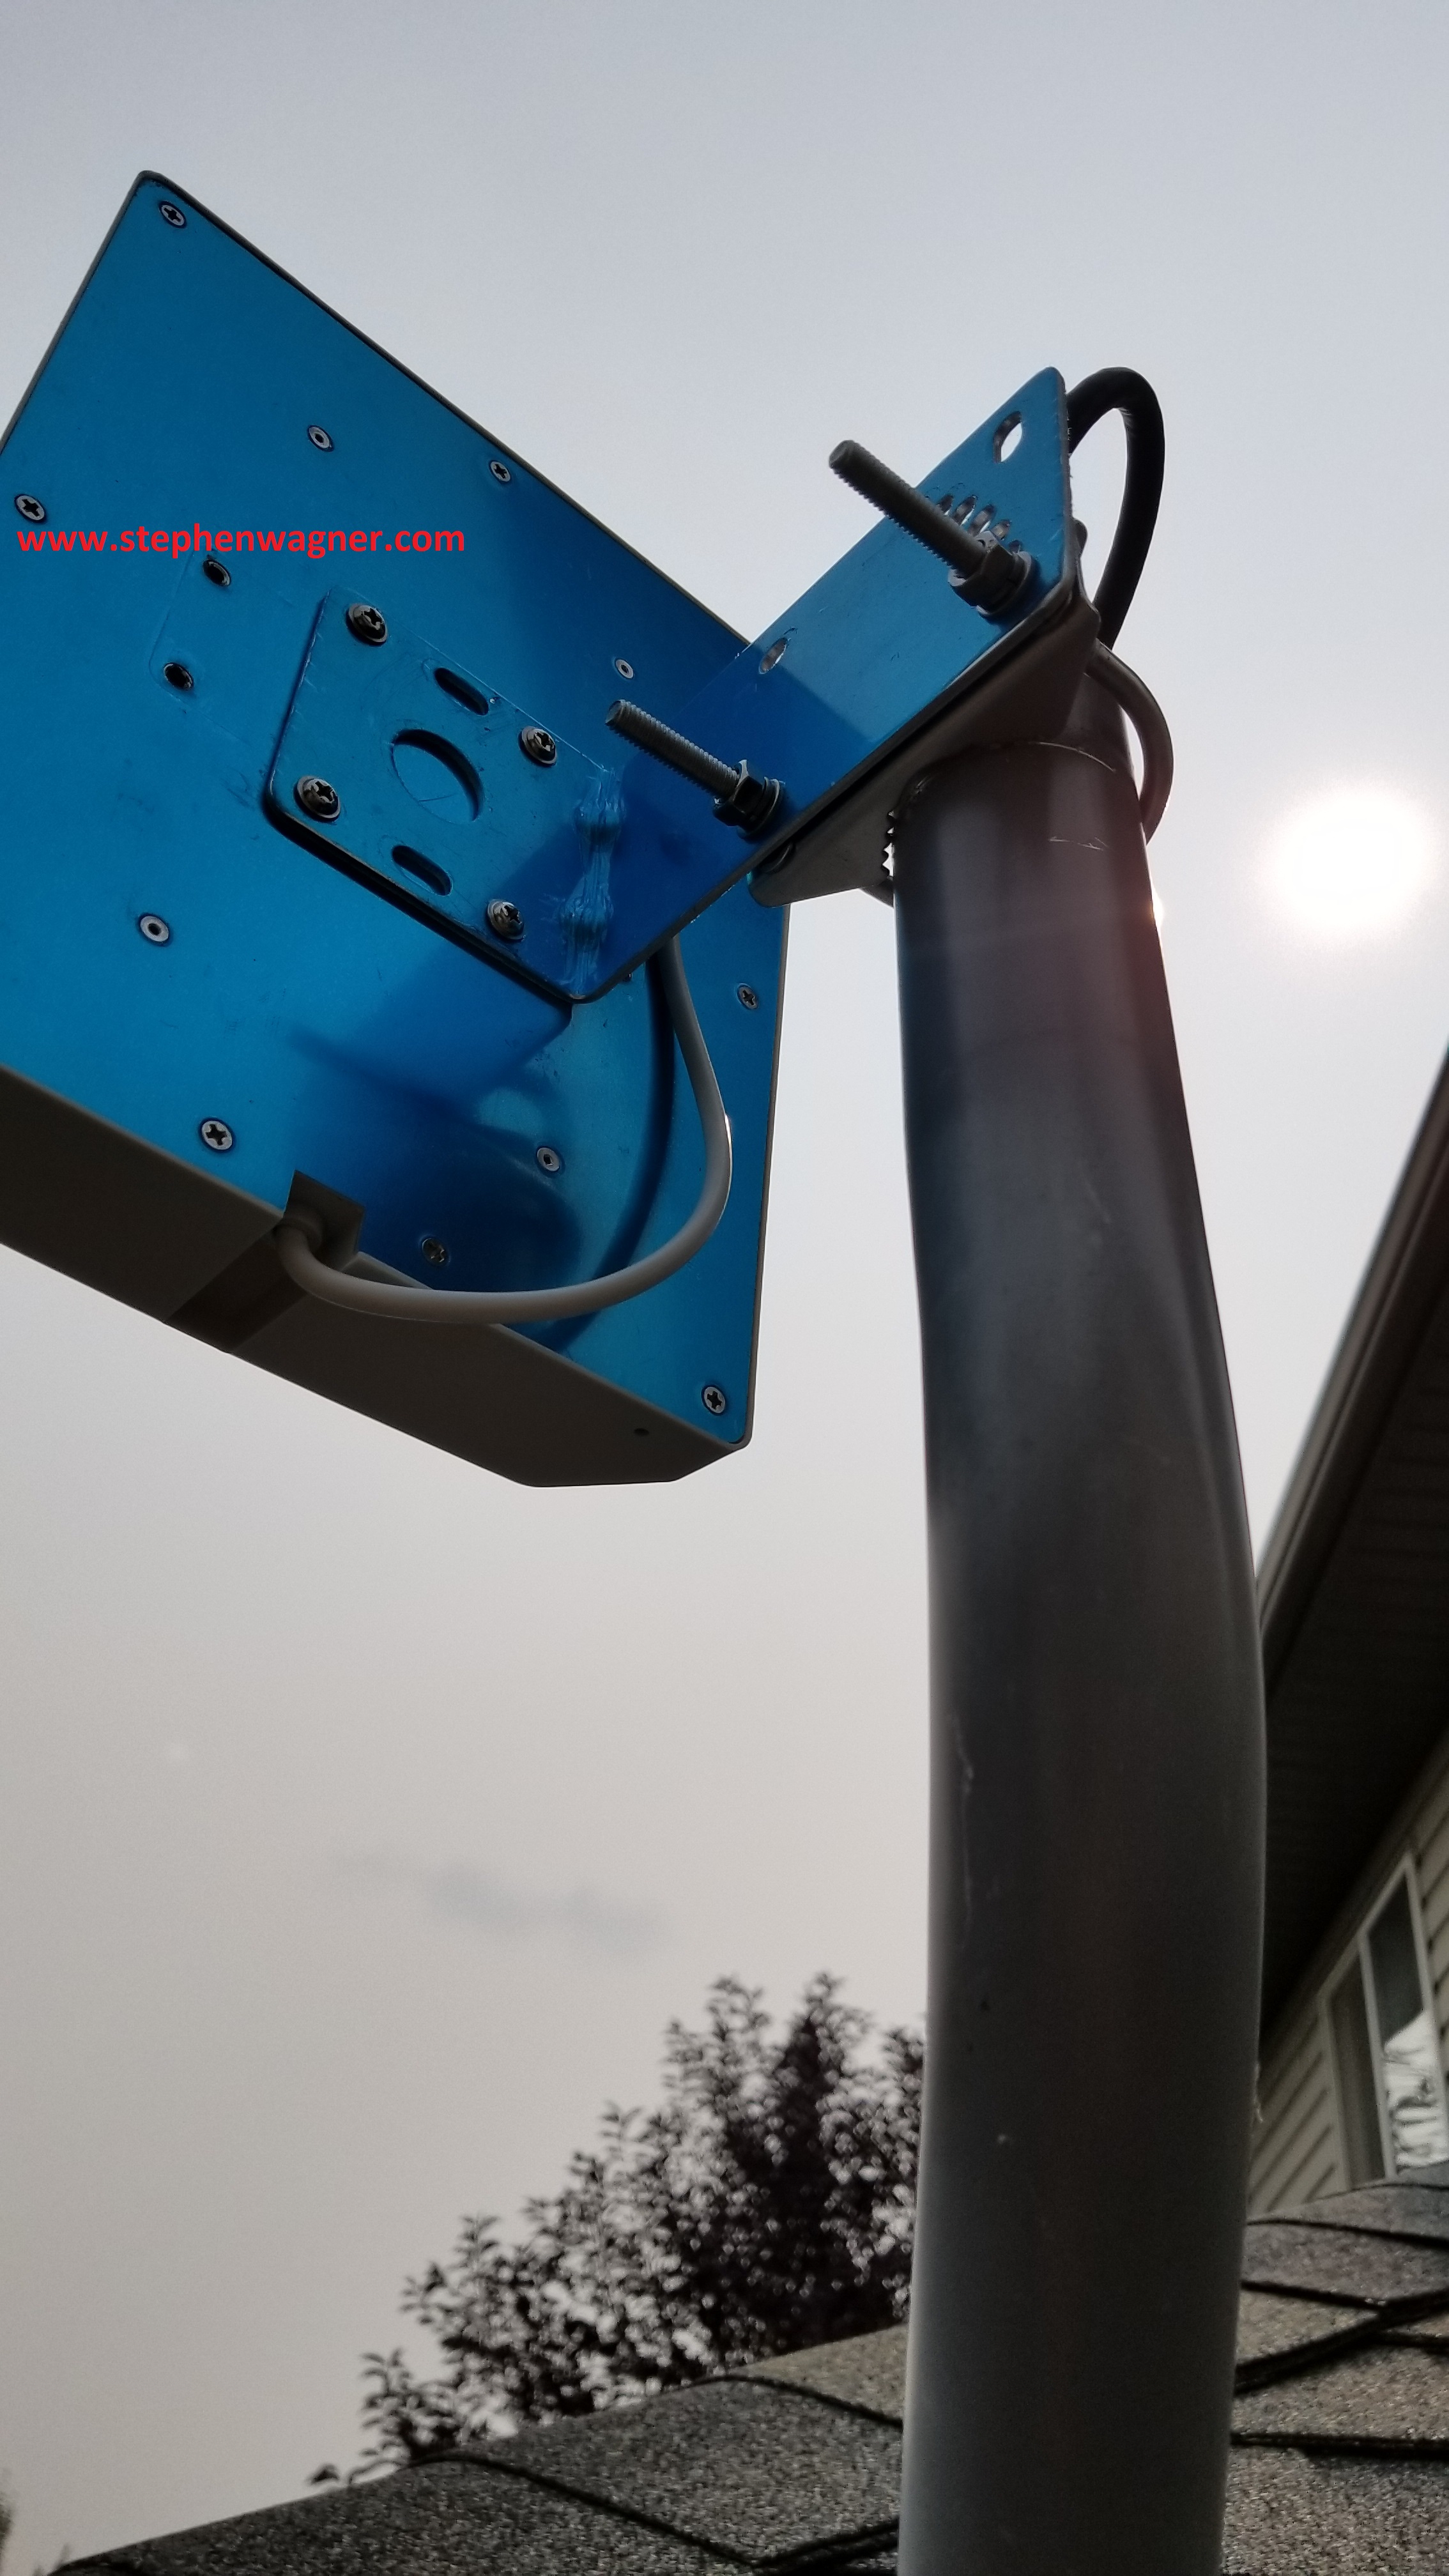
Roof mounted Antenna pole mount
The cabling goes through the pole, down to the eavestrough where I have it zip-stripped (yet elevated) along the roof until I get to the house’s siding. I was able to tuck it in the corner siding down to the wiring access panel for the house, then into the house through the hole.
After mounting it, it took around 30 minutes to aim it with the assistance of the “LTE Discover” Android app (available at https://play.google.com/store/apps/details?id=net.simplyadvanced.ltediscovery). Remember, when aiming your antenna, it’s important to unplug your booster for 5-10 seconds for it to fully reset for it to function with the new antenna position.
Again, make sure you check out my original post and review at https://www.stephenwagner.com/2017/06/01/cellmobile-phone-reception-issues-resolve-with-a-wilson-amplifier-cell-booster/!
Update – July 28th, 2019 – So here I am two years later. I live and swear by this signal booster. Since the original post, new towers have been erected in the area, however the coverage is still minimal and non-existant in the house. The roof mount (as discussed in the update above), as well as the signal booster provides me 100% full reception. The only issue I had is the power adapter (transformer) fried one day during a lightning storm. Replacing the power adapter resolved the issue and was an easy fix. For the 2 days I waited for the power adapter, I had no reception.