I’m going to stray away from the norm on this blog post. While I usually post about technical content, I’m going to jump in to a bit of health, fitness, exercise, and wellness.
As we all know, being a geek, nerd, and/or IT Professional, we have some crazy hours. Whether it’s pulling all-nighters training/learning, working entire weekend shifts to complete big implementation or migrations, or waking up extremely early to support companies in different geographical areas, it’s all extremely hard on the body and doesn’t give us a lot of time for a personal life or to stay healthy with exercise and fitness. This post is also relevant to the typical business professional, anyone who works or spends large amounts of time on the computer, or anyone who just wants to start working out! Think of this post as a beginners guide!
Disclaimer
I’m not a health professional, nor do I consider myself an expert with any of this. I simply did my own research, came up with my own plan, and found my own resources. I have to recommend to consult with a professional before performing any of the suggested acts in this post. You should only exercise if your doctor clears you and says you are healthy enough to exercise. If you have any pre-existing health concerns, make sure you consult with a doctor before exercising.
The Problem
It’s a challenge to come up with a workout plan due to the hours needed, determination, and having absolutely no idea what to do if you’re just starting out. A lot of people are scared because they don’t want to do it alone. Many also are worried and/or embarrassed about their current physical state, or embarrassed how they’d look at the gym (size or strength levels), and not knowing what they are doing.
One of the biggest problems with living and working on the computer or in the datacenter, is health! Specific problems I’ve felt and experienced over the years, include (but are not limited to):
- Body Posture (Slouching and Hunching over)
- Hand, Wrist, and Finger fatigue from typing (and/or carpal tunnel syndrome)
- Back pain (upper and lower)
- Sciatic Nerve Pain (Absolutely friggin horrible)
- Inactivity
- Difficulty Sleeping (problematic sleeping patterns)
- Mood
- Weight Gain
Also, lack of exercise and fitness can have serious impacts on mental health as well. This can seriously interfere with your ability to deal with stress, think clearly, perform well at work, and just feel generally well.
I wanted to share some of the things I do, to keep healthy, stay mentally sharp, deal with stress, and feel great!
Preparation
So you’re ready for the next step, now to prepare. Here’s a few important things you’ll either need to know, or to prepare for mentally:
- Get some exercise clothes. You don’t need to be a fashionista, and who cares if you look good or bad. You do however need some clothes that will avoid chaffing (mostly for runners), and won’t get caught or grab on equipment at the gym.
- Running – Compression Boxers/Underwear, shorts, and a compression shirt (helps evaporate sweat and manage body temp), and of course running shoes
- Strength Training – Shorts and a T-shirt or sweatpants and a shirt, and runners. Most gyms require you to change footwear when entering the gym. Wear your outdoor shoes, but bring a pair of runners to change in to.
- Whether your running in public, or working out at a gym, you need to make sure you DO NOT CARE what anyone thinks of you (either the way you look, or your current body shape/size). Everyone’s there for the same purpose to look better and get healthy.
- Stretch!
- Stretch when you wake up
- Try to have stretched around 30-60 minutes before a run or gym session (if it’s first thing, your morning stretches can count as these)
- Stretch after running or gym session
- Stretch before you go to bed
- Be prepared to get SORE. You will hurt for the first week, possibly second week, and maybe even the third week. This will get better with time, and you just need to stay with your regiment. If you’re strength training, you can add 15-30 minutes of cardio after your workout session to assist with recovery and reduce pain, however don’t do anymore than 30 minutes as this can affect muscle growth and your gains.
- Commit to your plan
- Instead of doing a month-to-month gym membership, try signup on a 1, 2, or 3 year term to make sure you HAVE to go.
- Get a fitness tracker to track your runs, bike rides, and gym sessions. Visibly seeing what you’re doing allows the competitiveness in you to compete against yourself! And it’s fun!
The Solution
First and foremost, you need to find or make time. If you’re like me and are an early riser, wake up even earlier to go for a run or hit the gym. You can also do so during breaks in the day, lunch for example. If you can’t wake up earlier, then plan for at the end of your work day.
I have a membership at Anytime Fitness, which is a 24/7 gym. Not only are they open 24/7/365 so you can workout whenever you want, but you also get access to their vast network of gym’s worldwide. This is perfect for the corporate traveler, or the individual with crazy hours.
For the two previous years I focused on cardio, however this year I decided to get back in to daily strength training (which I haven’t done for 4 years).
PLEASE NOTE: I’ve been active for the past 4 years, so don’t expect to be able to do the same distances running, distances cycling, or workout plans I do. Please use the resources in this post as a guide to develop your own plan and what you’re comfortable with.
Aerobic (Cardio)
Aerobic exercise is the act in which your muscles use oxygen from the air to sustain a certain activity. This is commonly referred to as cardiovascular exercise, or simply cardio. Below are are activities/exercises I do that involve aerobic cardiovascular exercise.
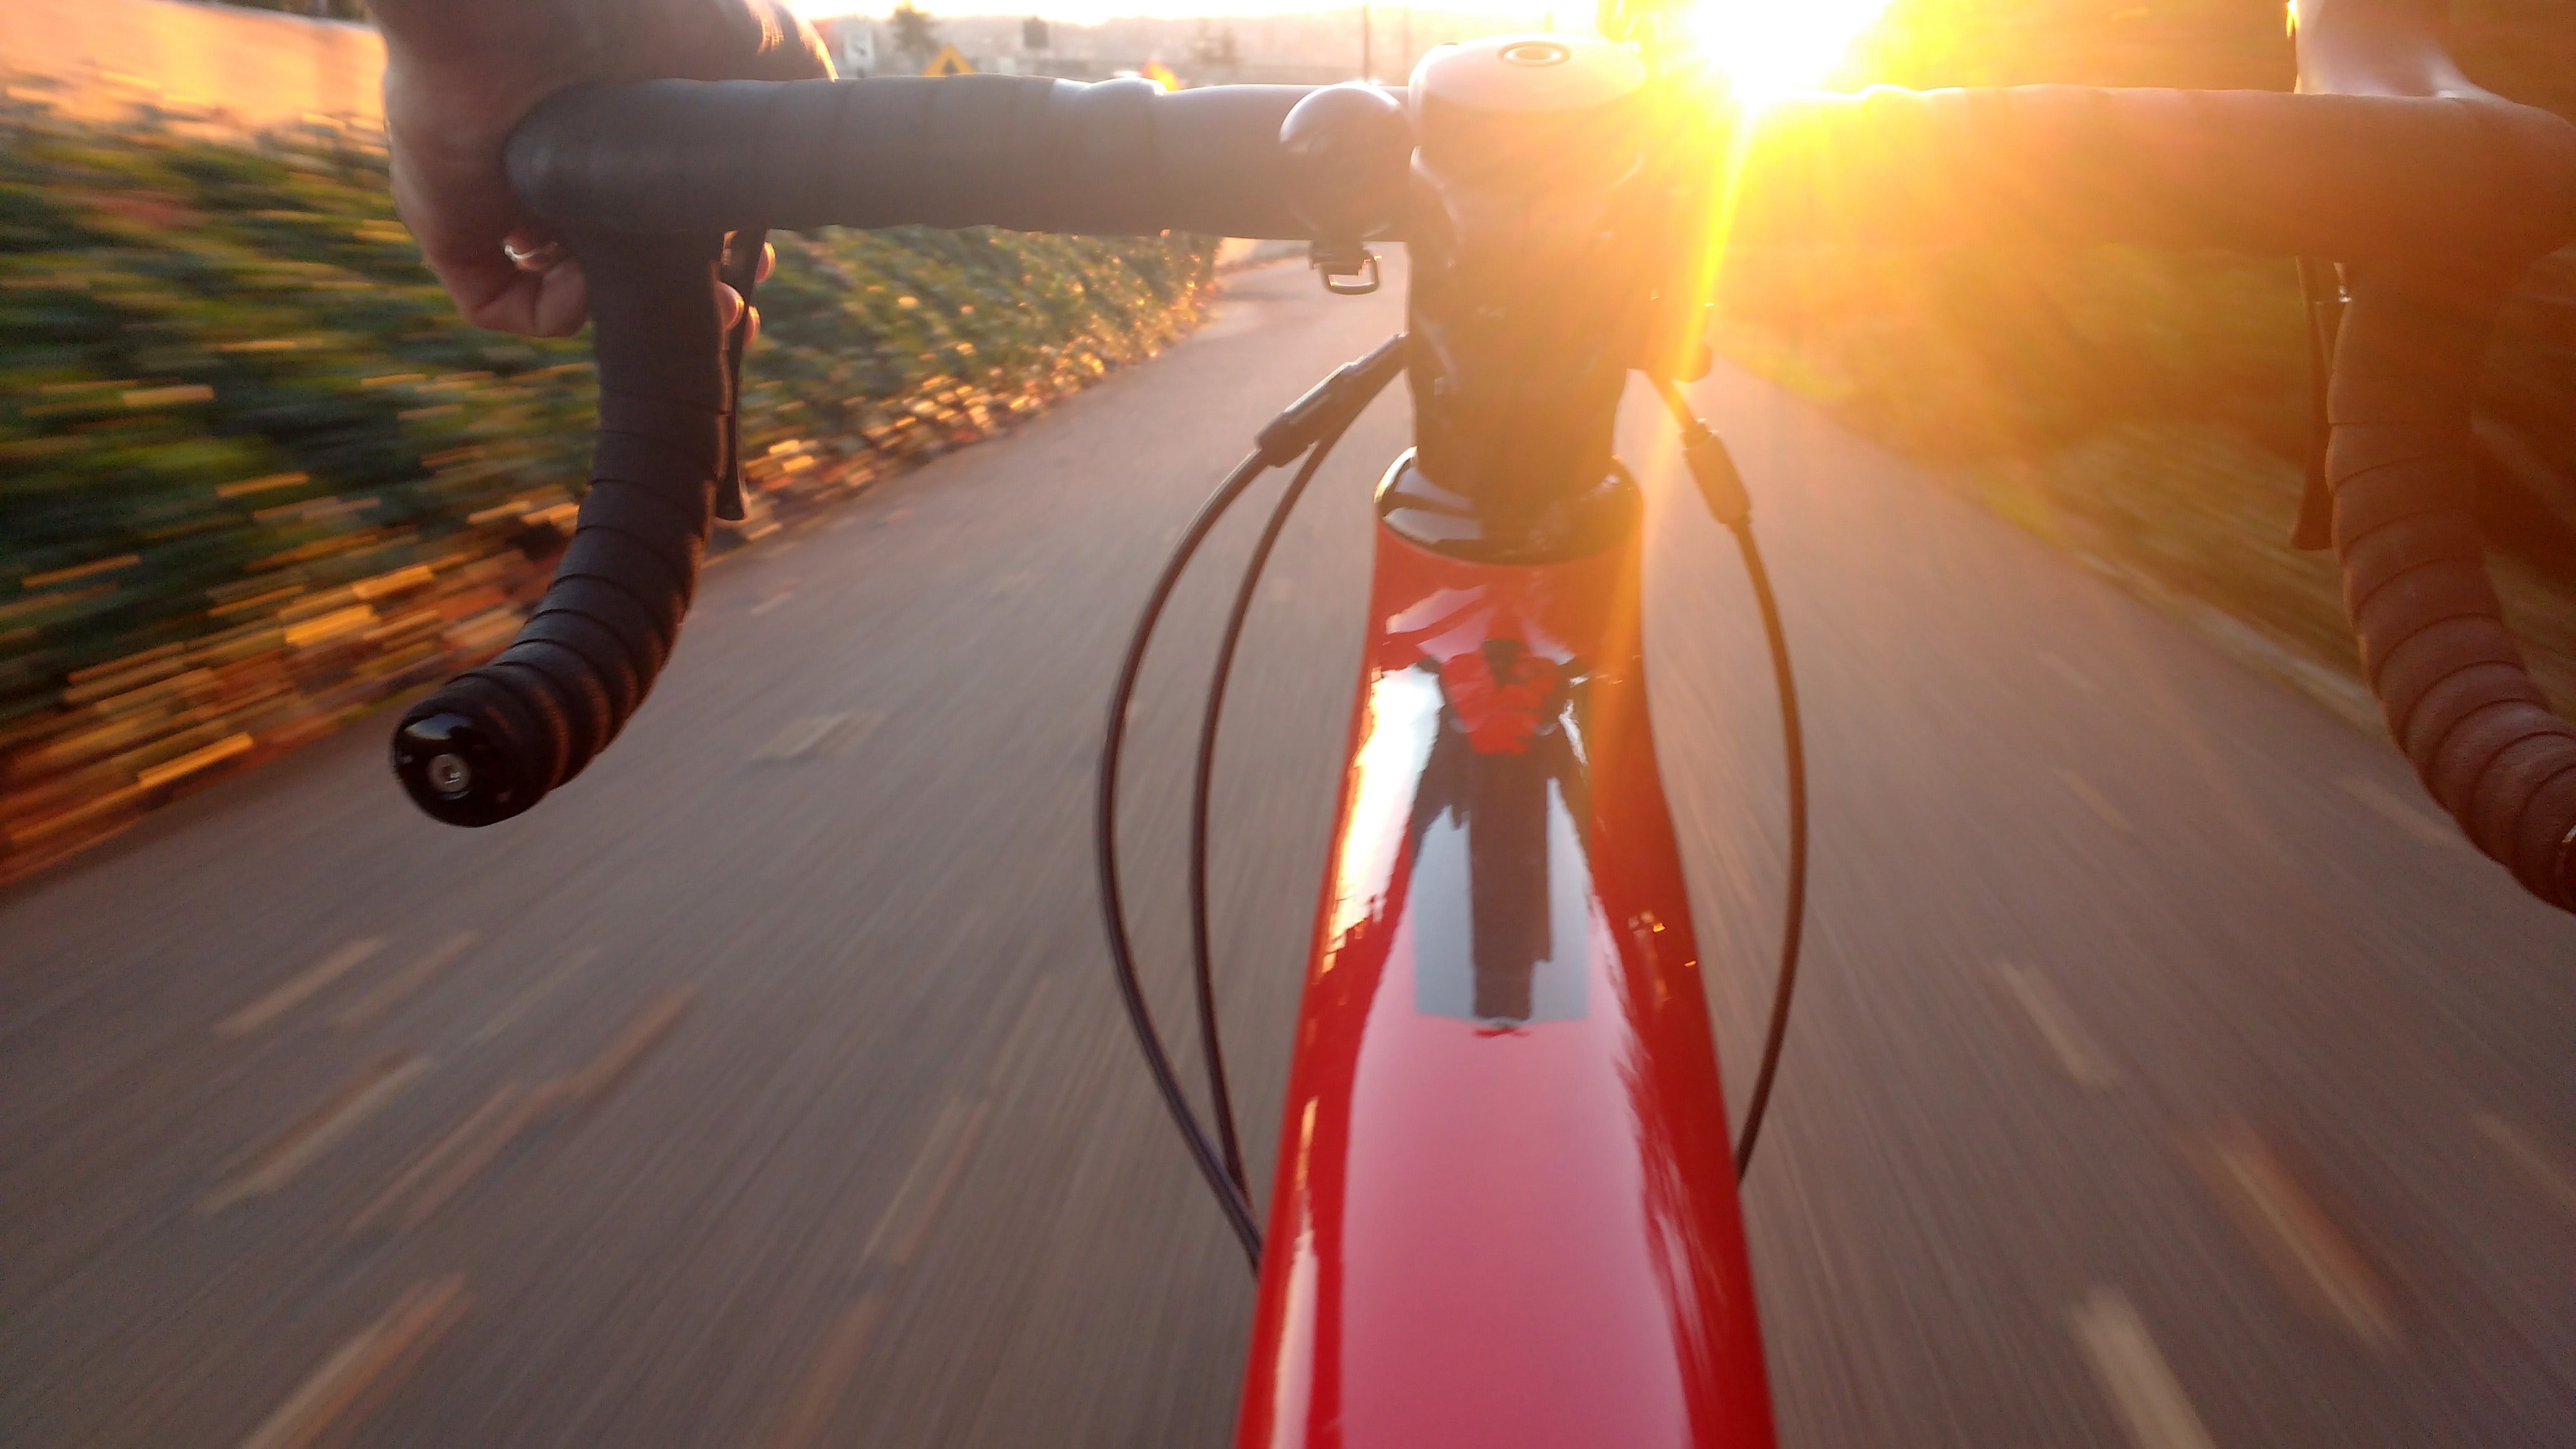
Biking/Cycling
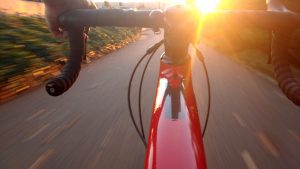 Bike riding is an excellent way to get exercise. You can use any type of bike, get out, see nature, and get a great workout. I have both a mountain bike, and a road bike. Typically I use the mountain bike for outdoor terrain (dirt, paths, etc.), whereas the road bike is used for high-speed, long distance riding and training (pathways, roads, etc).
When I was running daily, I would regularly switch randomly from running to cycling every few days to maintain performance and switch things up. You can burn a crazy amount of calories on extremely long rides, I was recording over 2,000 calories burned on rides over 70km. Occasionally when I wanted to increase distance, I would cut running, and focus primarily on cycling for a few days or a week at a time to crank out the extra distance.
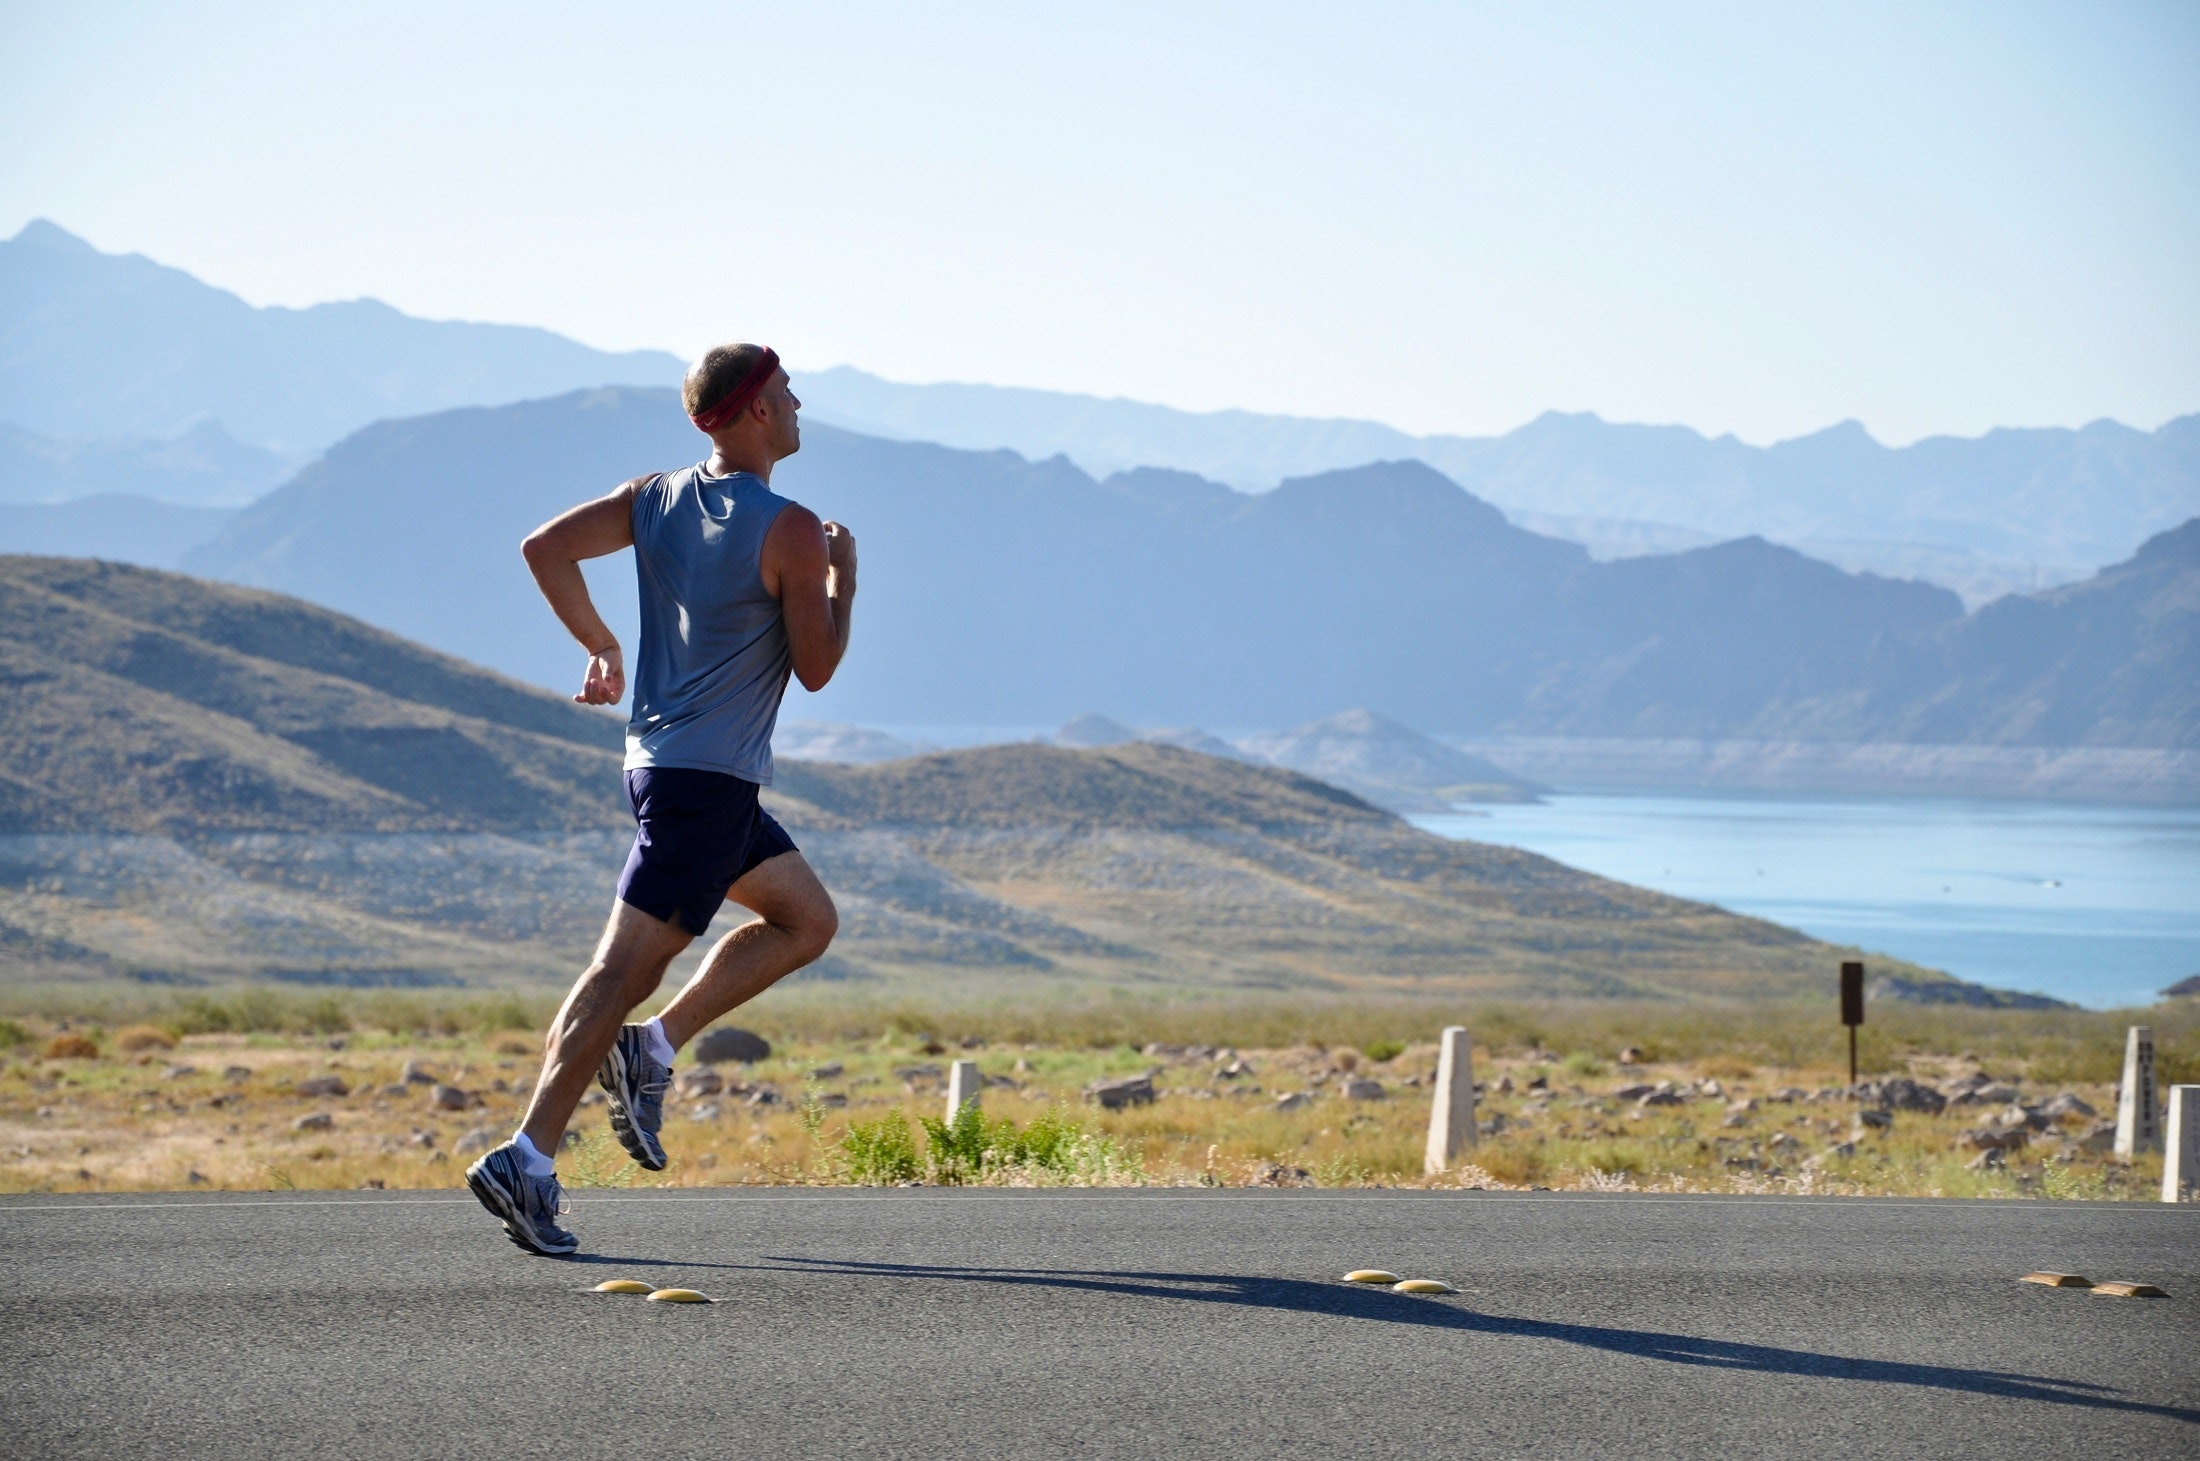
Running
Running has turned in to a personal favorite activity of mine. It helps you get out, unwind, de-stress, think, and just clock-out. There’s not much to running except to throw on some clothes, throw on the running shoes, and your good to go.
When I was actively running, I would make sure to run daily. Typically I would shoot for 8-14km per day, and once every week or so I would have a good long 20km+ run. Whenever I noticed I was burning out or performance was plateauing, I would swap some of the daily runs for long bike rides which would then help me realize gains running. The muscle gains from cycling or strength training can help with running further and longer.
Please remember to stretch with running to avoid serious injury.
Hiking
Hiking is another great activity for cardiovascular health, and can also help build leg strength. Luckily for me, I live by the rock mountains so I have Banff, Canmore, and Kananaskis Country right at my doorstep within an hour drive. You can do easy hikes or hard hikes, whatever you’re comfortable with.

Stephen Wagner Hiking
I like hiking particularly because it’s challenging with the terrain, and you can do it with other people. Once you start to go on more aggressive hikes, you can climb to the top of mountains, take beautiful videos and pictures, and see things most other people will never see in their lifetimes.
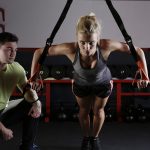
Anaerobic (Strength Training)
Anaerobic exercise is the act in which your body uses glycogen and fat as fuel to sustain an activity. This is commonly referred to as strength training exercises, or simply lifting weights. Below is how I perform Anaerobic strength training exercises.
Strength Training

Strength Training Using Weight Machines
As mentioned above, I’m a member at Anytime Fitness. I usually wake up at around 3:00AM to 4:30AM everyday, work on e-mails and overnight issues, and then visit the gym at around 5:00AM to 6:00AM. It’s the perfect routine for me as it allows me to deal with emergencies and kick off the day with a great workout (which gives me crazy amounts of energy). You can do a similar schedule, or find one that works best for you!
For work out plans, you can find many on the website www.bodybuilding.com. They have a wide variety of content for the different type of workouts you may want to do, you can also click/tap on the specific exercises in the workout plans, view videos of the exercises and learn how to do them, as well as read on proper form an technique to make sure you’re doing it right. Having your phone with you while you’re at the gym allows you to follow this exactly and make sure you are actually doing it right to get the most out of the exercise as well as avoid injury.
The current 5-day workout plan I’m on is “J-DAWG”‘s at: https://www.bodybuilding.com/content/what-is-the-best-5-day-workout-split.html
If you’re just starting out, I might recommend a plan similar to this one: https://www.bodybuilding.com/content/an-amazing-4-day-workout-for-lean-mass.html.
If you’re on an aggressive plan, make sure to have 1-2 rest days every 7 days, even more if you’re just starting out. You should never work the same muscle group more than once in 24 hours.
If you’re just starting out, maybe try using the weight machines more, then as you’re comfortable move to the free weights. Free weights are ultimately what you want to be using in the majority of your exercises as they not only work on your main muscle groups, but also develop stabilizing muscles.

Strength Training using Free Weights
Make it fun/Extra Tips/Supplements
There’s a few extra tips I want to provide to help out as well as make it more fun!
Energy Boost
On those crazy days where you didn’t get enough sleep, or you’re feeling drained, hitting the gym first thing can give you a massive burst of energy… And if you start dying out in the afternoon, a quick 30-45 minute run can re-inject you with another 4-6 hours of energy to help you finish your day. After a night of no sleep, or a night out partying, I commonly use this method to help me get through the next day!
Fitness Trackers
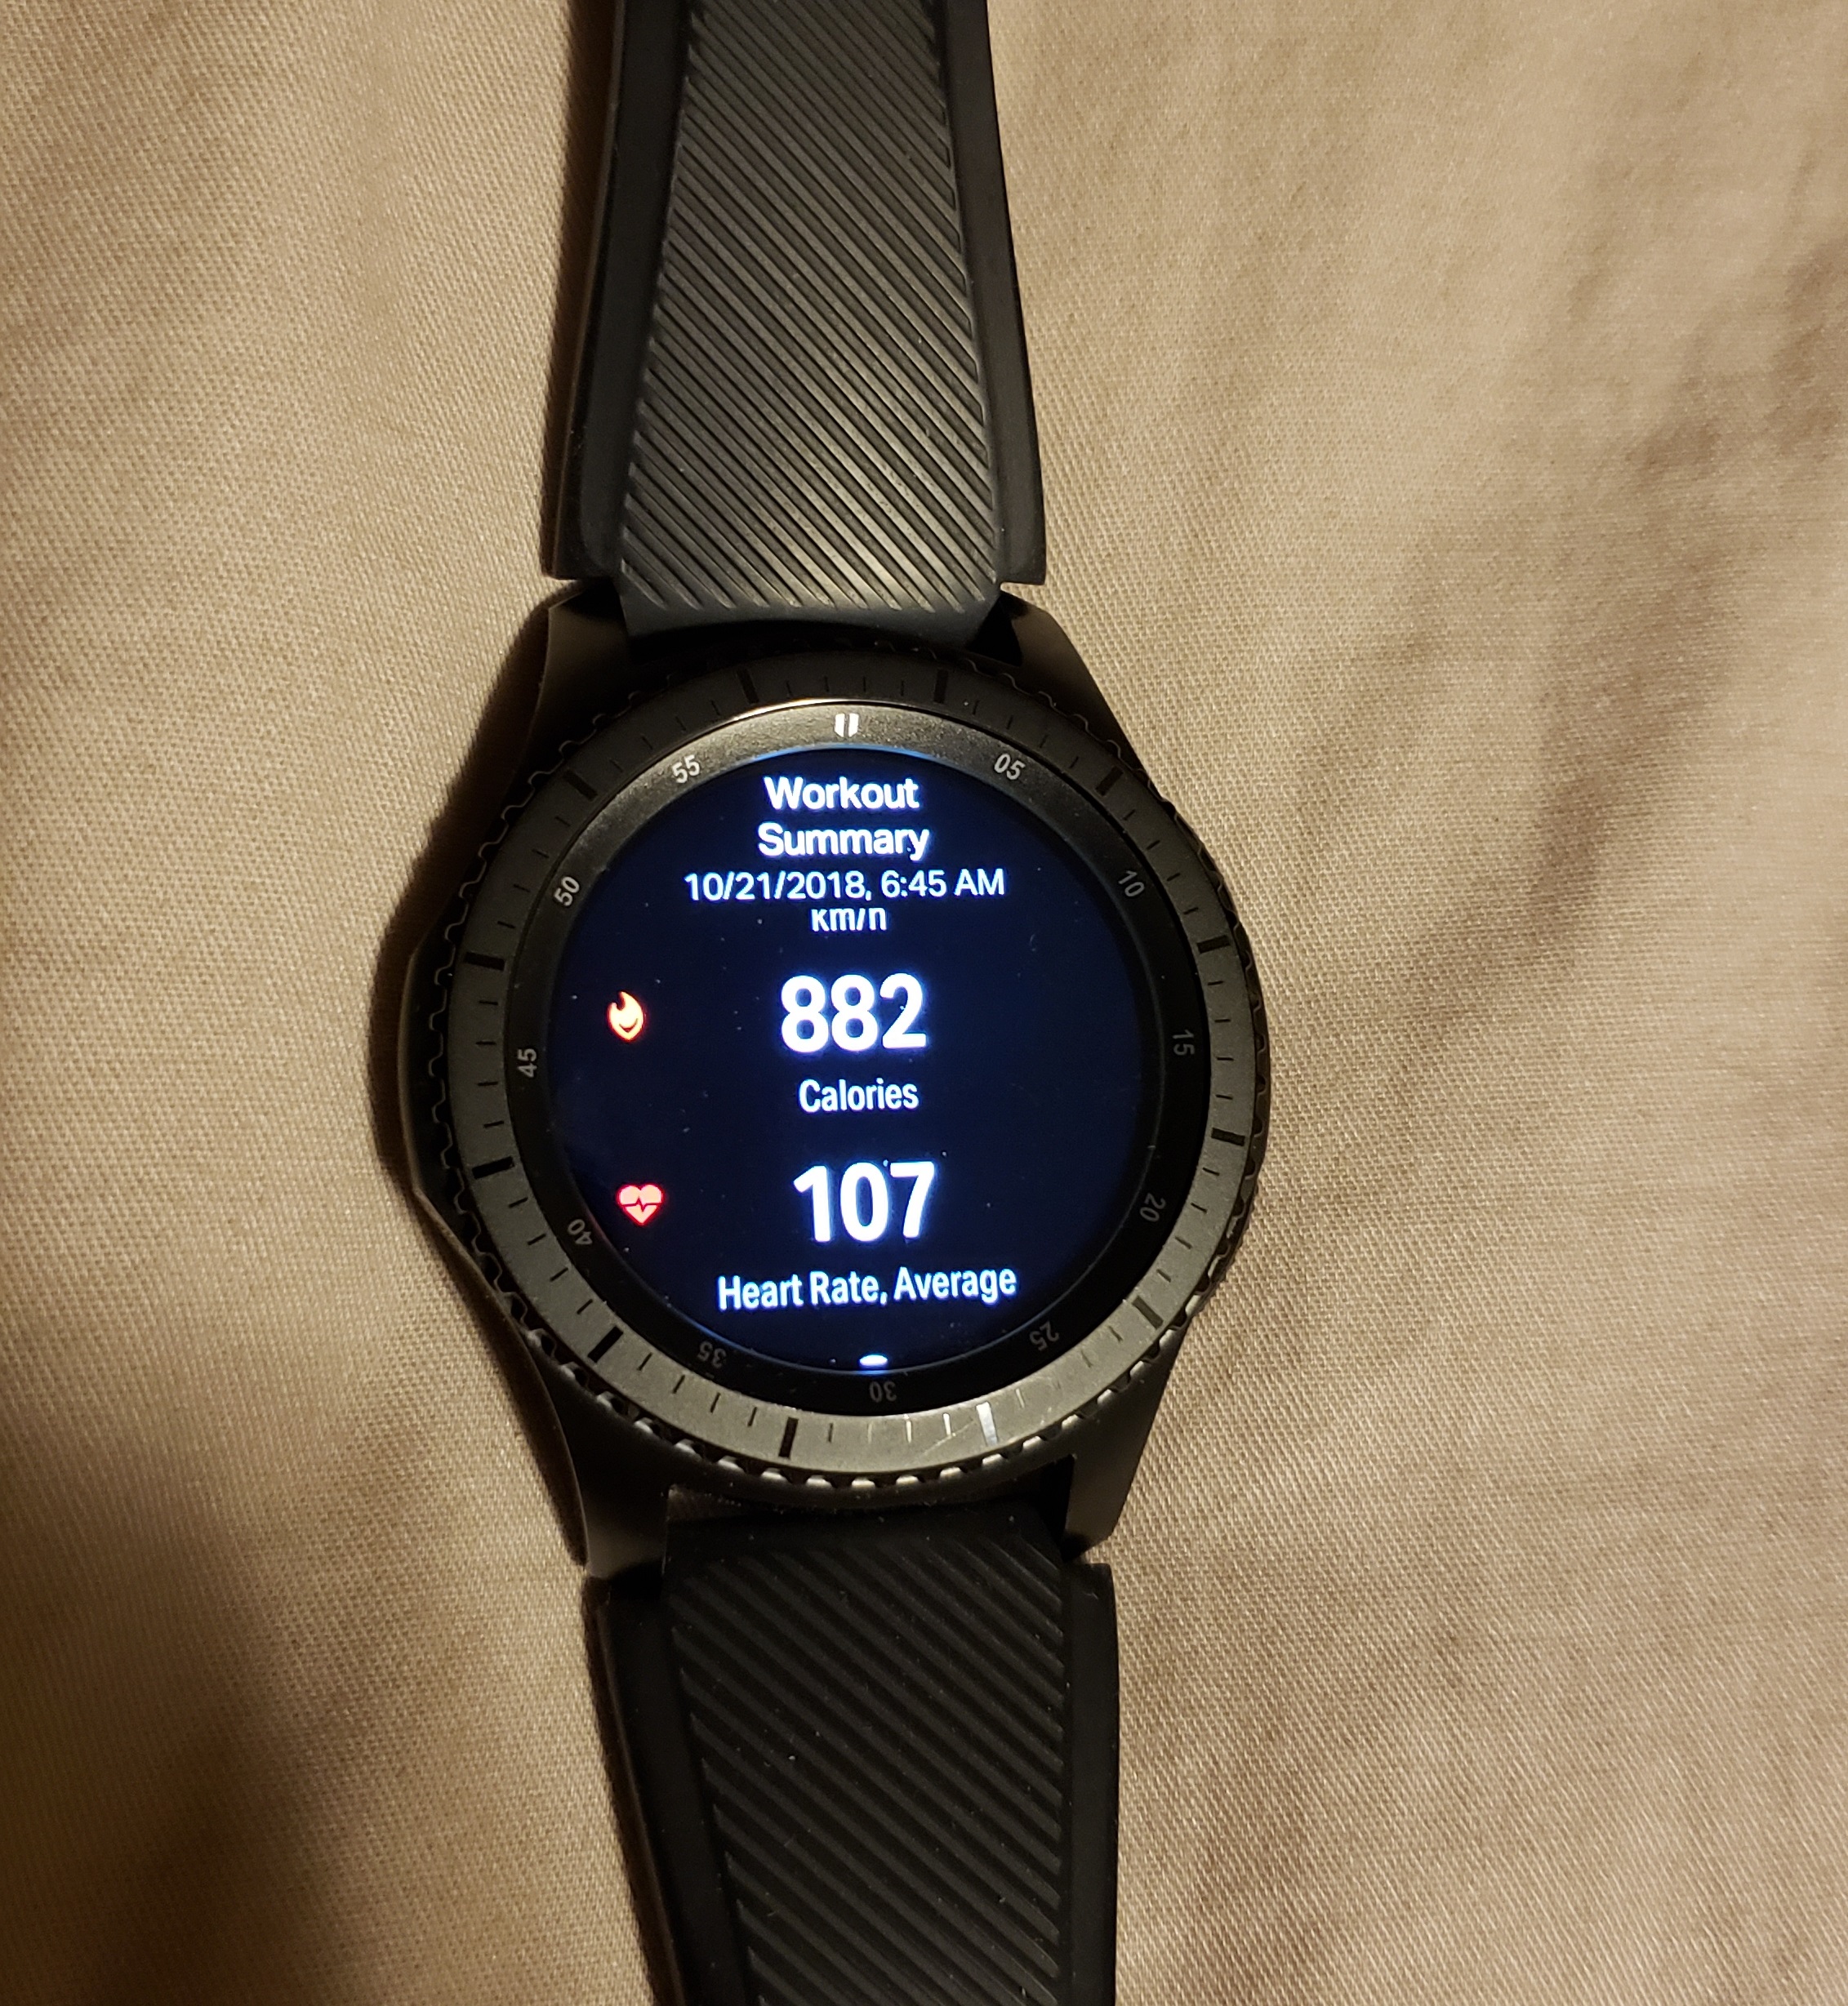
One of the great ways to stay motivated is to buy a fitness tracker (smartwatch) that can track your progress. Not only can you prove you worked out that day to self-motivate, but you can also track your progress, vitals, and how your body is performing. I’ve used a few including the Microsoft Band, Microsoft Band 2, and now I’m using the Samsung Gear S3. The Samsung Gear S3 is my favorite.

Samsung Gear S3
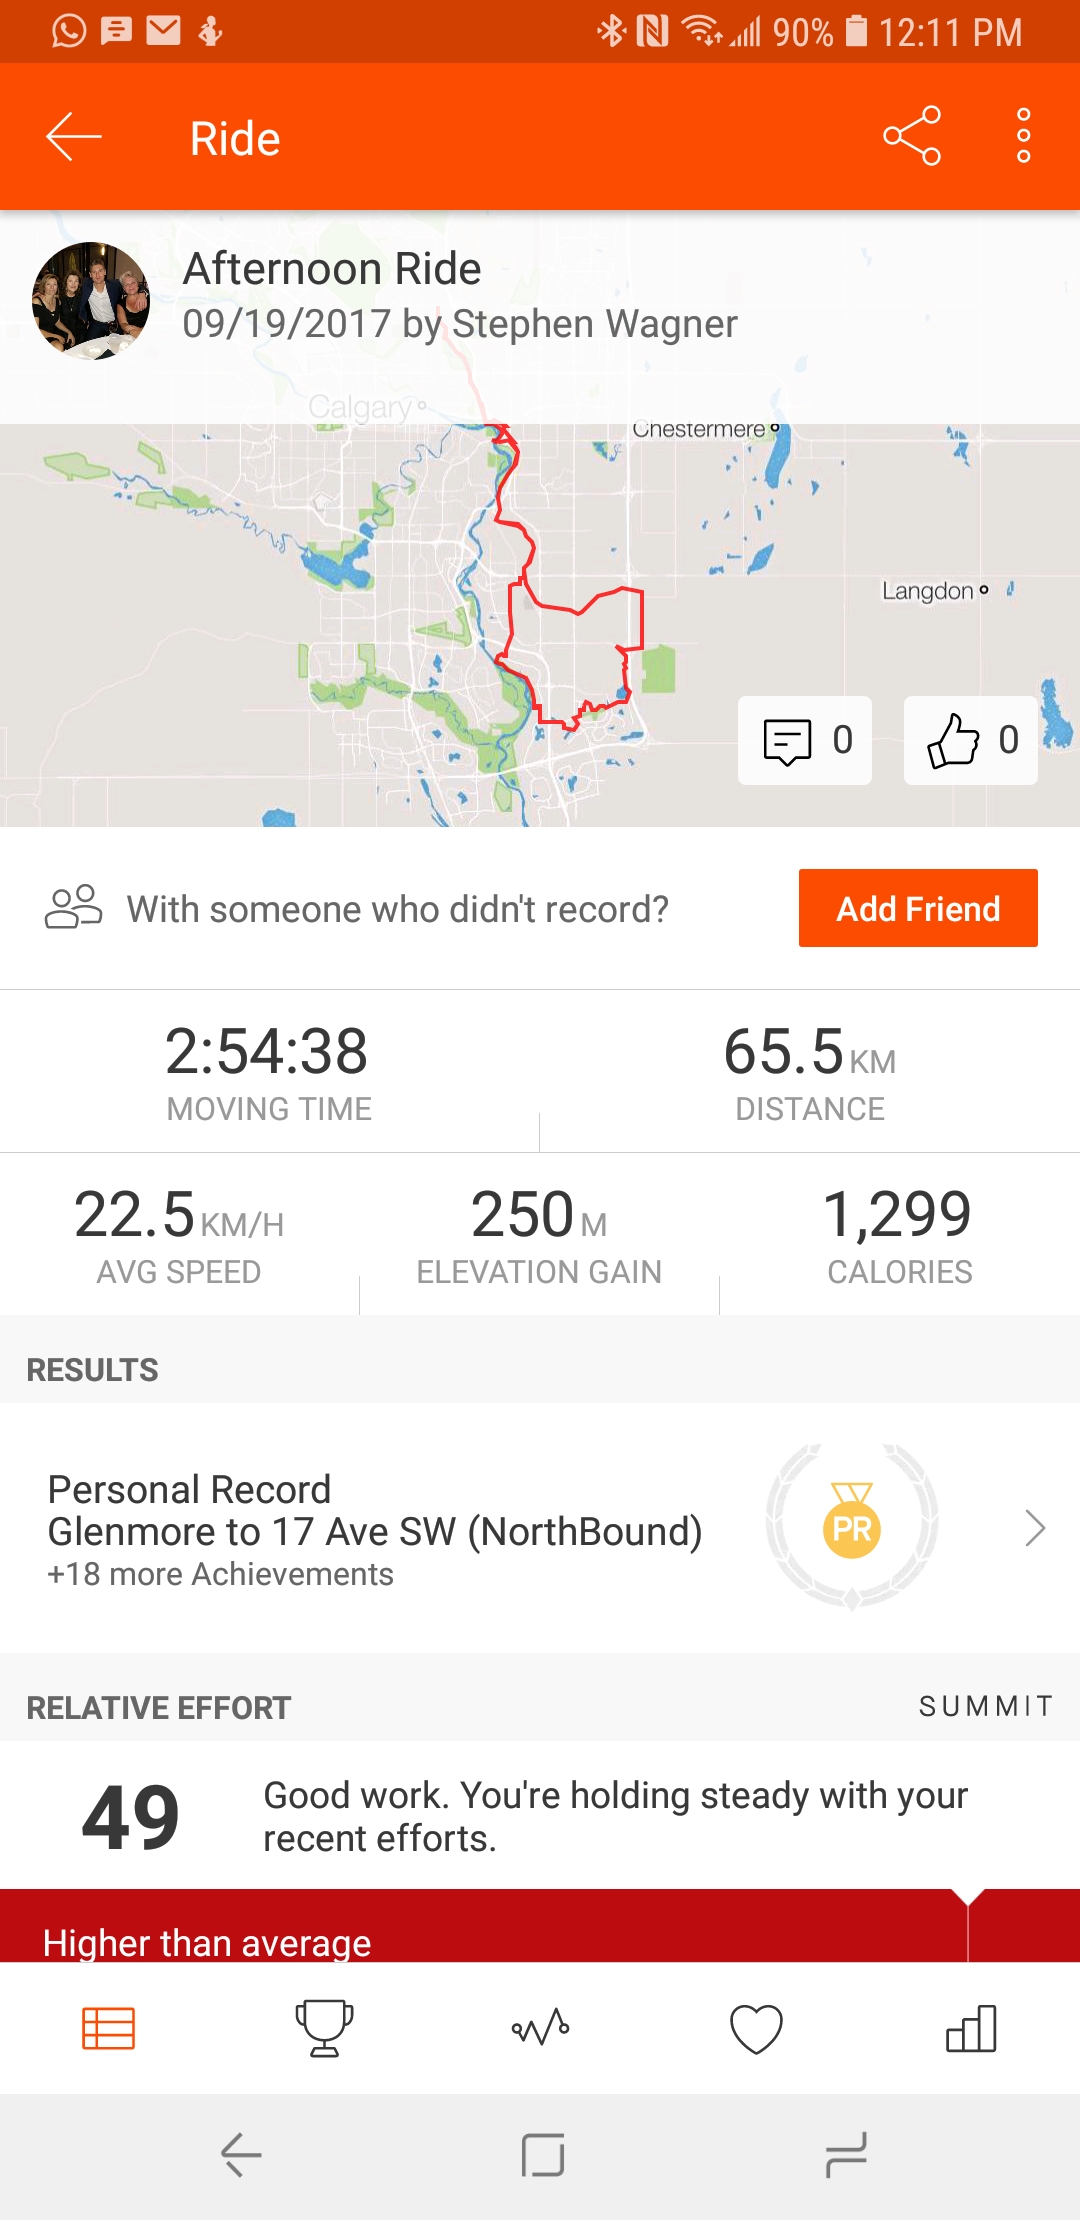
With my Samsung Gear S3, when I’m running or cycling I can track the route with GPS, minutes per KM/Mile, heart rate, and other metrics. When my Gear S3 syncs with Samsung Health, it can also sync with Strava. Strava is an online platform that tracks Running and Cycling over a social network at https://www.strava.com.
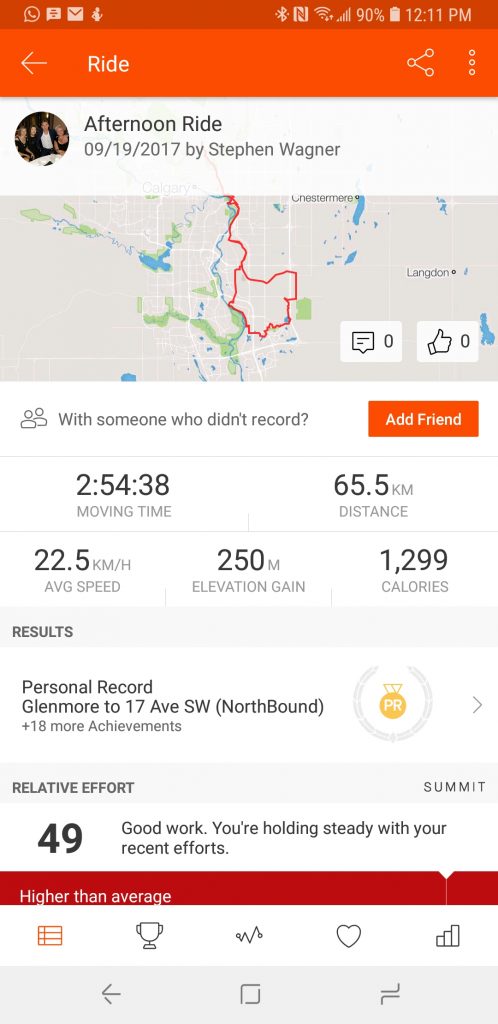
The Strava App
Strava is an awesome way to track your progress and connect with your friends who are also on the platform.
When it comes to strength training, my gym Anytime Fitness, has an app for my phone. The Anytime Fitness app tracks you gym visits, connects with the Under Armor “Map My Run” app (despite run in the name, it can also track strength training), and allows you to track your burn, heart rate, and other information. For strength training I typically use the Under Armor app, as it connects to the Anytime Fitness app. However, you can use the standard Samsung Health app on our Samsung Gear S3 to track strength training as well.
Supplements
It’s all about the protein! Whether I’m doing cardio or strength training, I consume as much as I can of this stuff as I can. I find when taking 1.5 hours before a run, I can run longer with more energy (always take some after as well). When it comes to strength training, protein is extremely important for muscle growth, and to stop your body from eating away at them (which happens if you don’t get enough protein). Once you start advanced training, you can add more supplements as needed.
I purchase most of my supplements from www.bodybuilding.com, or the local suppliment store. The website bodybuilding.com also has a great protein dosage calculator at: https://www.bodybuilding.com/fun/calpro.htm
I hope the information in this post either helps your existing workouts, or motivates you to get on the fitness bandwagon. Please feel free to leave a comment and correct me on anything, or add your own advice. I will occasionally update this post, so feel free to bookmark and check from time to time in case I post anything new!