Today we’ll go over how to install the vSphere vCenter Root Certificate on your client system.
Certificates are designed to verify the identity of the systems, software, and/or resources we are accessing. If we aren’t able to verify and authenticate what we are accessing, how do we know that the resource we are sending information to, is really who they are?
Installing the vSphere vCenter Root Certificate on your client system, allows you to verify the identity of your VMware vCenter server, VMware ESXi hosts, and other resources, all while getting rid of those pesky certificate errors.
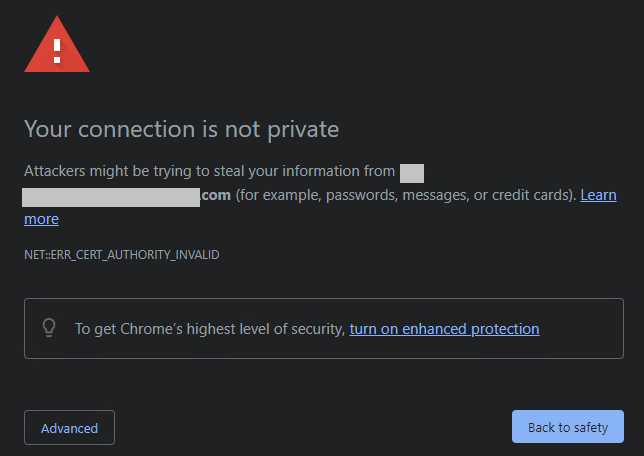
I see too many VMware vSphere administrators simply dismiss the certificate warnings, when instead they (and you) should be installing the Root CA on your system.
Why install the vCenter Server Root CA
Installing the vCenter Server’s Root CA, allows your computer to trust, verify, and validate any certificates issued by the vSphere Root Certification authority running on your vCenter appliance (vCSA). Essentially this translates to the following:
- Your system will trust the Root CA and all certificates issued by the Root CA
- This includes: VMware vCenter, vCSA VAMI, and ESXi hosts
- When connecting to your vCenter server or ESXi hosts, you will not be presented with certificate issues
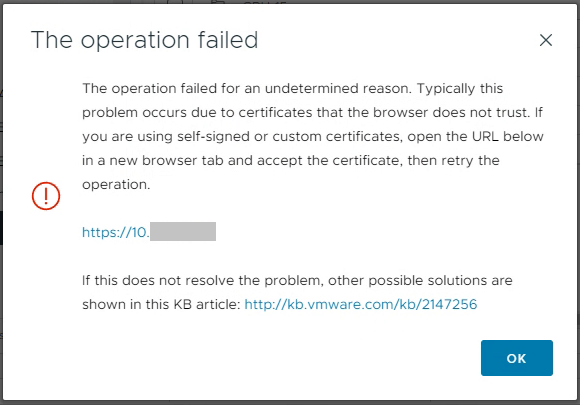
- You will no longer have vCenter OVF Import and Datastore File Access Issues
- This includes errors when deploying OVF templates
- This includes errors when uploading files directly to a datastore
In addition to all of the above, you will start to take advantage of certificate based validation. Your system will verify and validate that when you connect to your vCenter or ESXi hosts, that you are indeed actually connecting to the intended system. When things are working, you won’t be prompted with a notification of certificate errors, whereas if something is wrong, you will be notifying of a possible security event.
How to install the vCenter Root CA
To install the vCenter Root CA on your system, perform the following:
- Navigate to your VMware vCenter “Getting Started” page.
- This is the IP or FQDN of your vCenter server without the “ui” after the address. We only want to access the base domain.
- Do not click on “Launch vSphere Client”.
- Right click on “Download trusted root CA certificates”, and click on save link as.
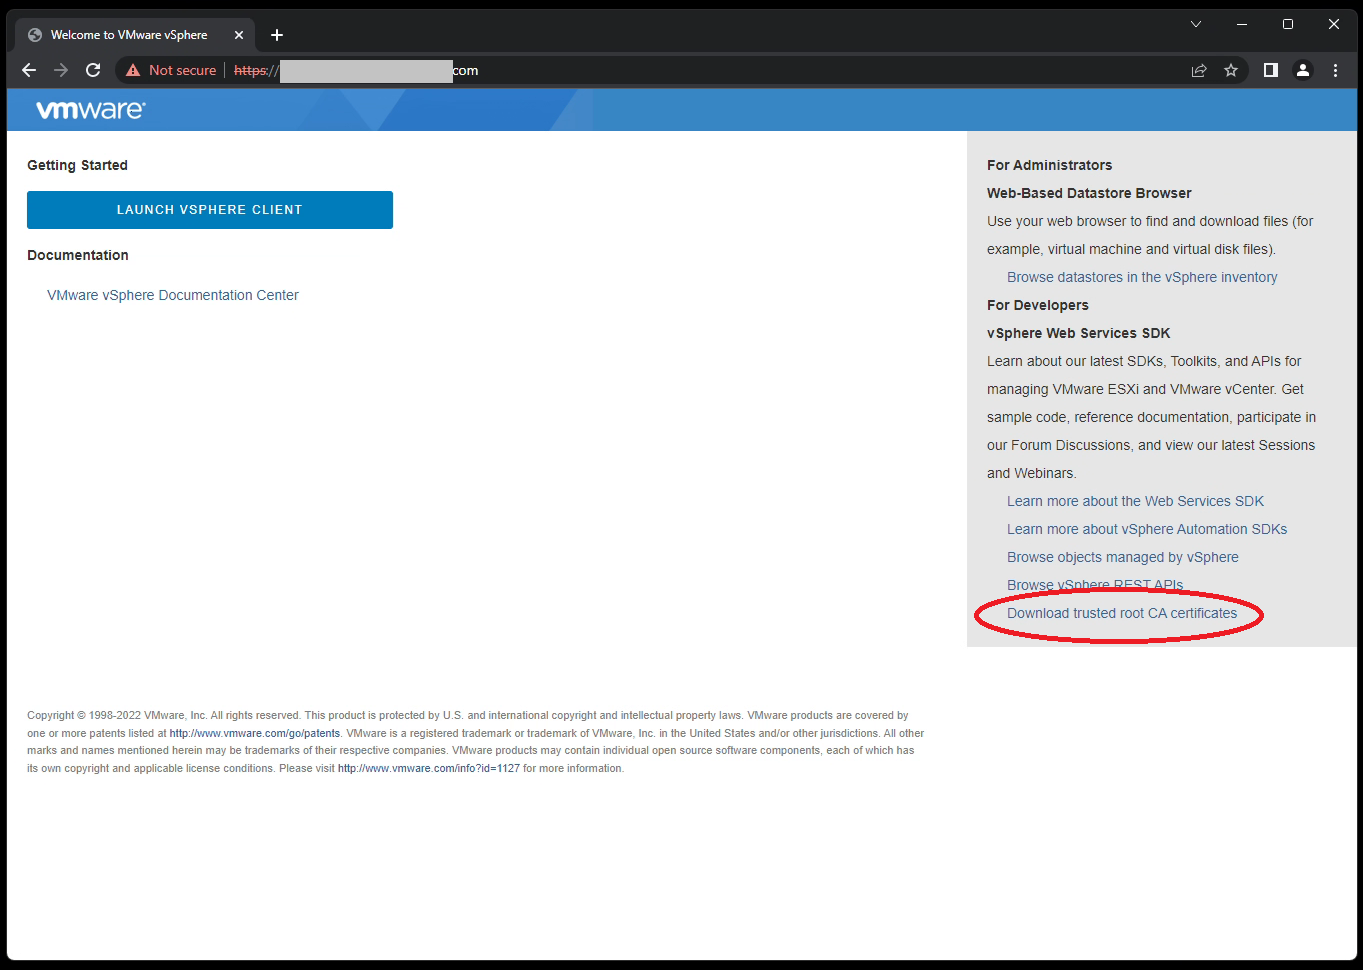
- Save this ZIP file to your computer, and extract the archive file
- You must extract the ZIP file, do not open it by double-clicking on the ZIP file.
- Open and navigate through the extracted folders (certs/win in my case) and locate the certificates.

- For each file that has the type of “Security Certificate”, right click on it and choose “Install Certificate”.
- Change “Store Location” to “Local Machine”
- This makes your system trust the certificate, not just your user profile
- Choose “Place all certificates in the following store”, click Browse, and select “Trusted Root Certification Authorities”.
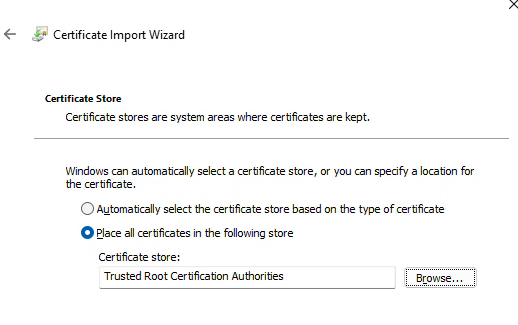
- Complete the wizard. If successful, you’ll see: “The import was successful.”.
- Repeat this for each file in that folder with the type of “Security Certificate”.
Alternatively, you can use a GPO with Active Directory or other workstation management techniques to deploy the Root CAs to multiple systems or all the systems in your domain.
