Mar 172020
 
CanaKit Raspberry Pi 4 Case with cables

Worried about your Raspberry Pi 4 overheating? The CanaKit Raspberry Pi 4 case and Raspberry PI cooling fan is a must have!

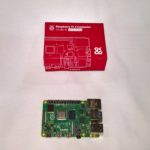
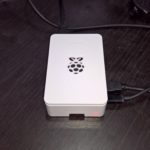
I purchased the complete CanaKit Raspberry Pi 4 Start MAX Kit from Amazon (link here). It’s a great little starter kit, easy to get going, and best of all it was same day delivery with Amazon Prime (for those of us who are impatient).

I placed the order, and within 8 hours I received the package and was up and running with the Pi 4!

CanaKit Raspberry Pi 4 case open with Fan Kit and running
CanaKit Raspberry Pi 4 Open with Fan Kit

The PI cooling fan on the CanaKit case for the Raspberry Pi 4 can be somewhat loud once installed, however when doing CPU intensive operations, it’s a must have to keep your Pi cool.

Pi Cooling Fan stats

Originally I left the fan unhooked until I was compiling a linux kernel on the Raspberry Pi 4. I could feel the heat coming from the top of the case so I decided to check to see what the temperatures were.

root@raspberrypi:/home/stephenw# vcgencmd measure_temp
 temp=83.0'C

You can see that the CPU was running very hot! I sampled the CPU temp 3 times over a period of a minute to confirm it was running that hot.

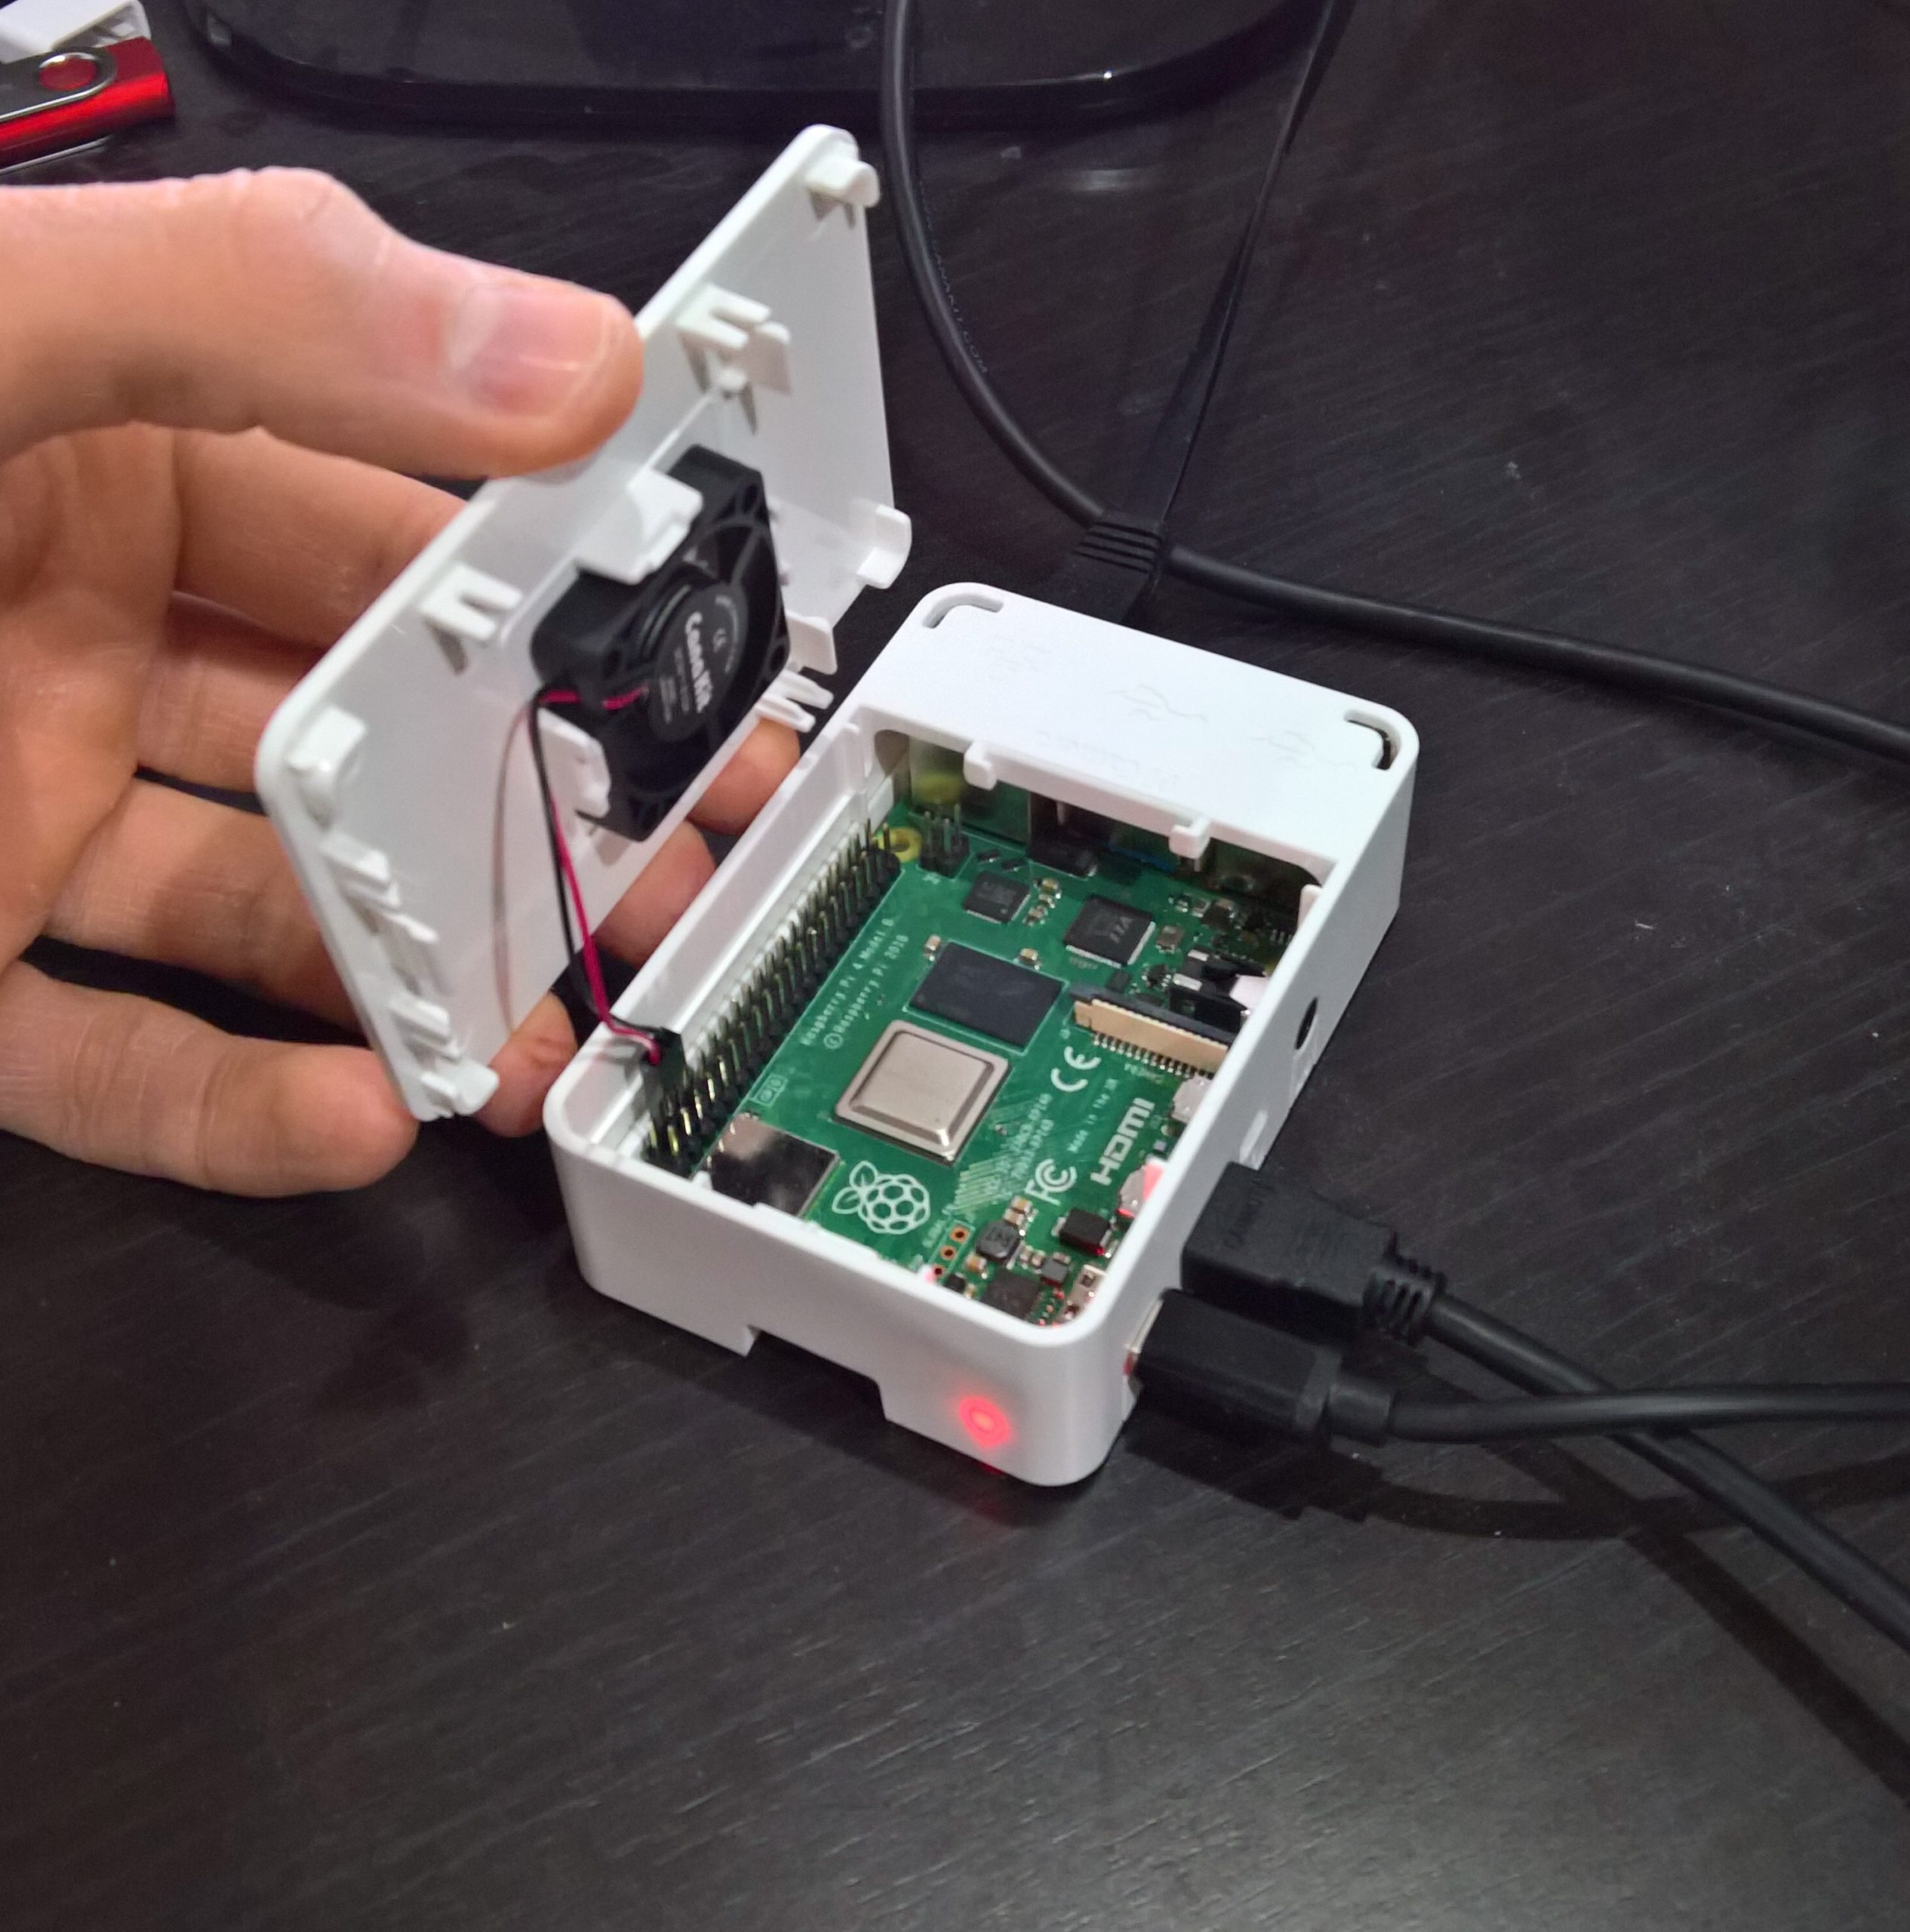
Immediately I decided to hook up the fan and install it in the case. After installing the fan and letting it run for a while, the temperature dropped dramatically.

root@raspberrypi:/home/stephenw# vcgencmd measure_temp
 temp=51.0'C

As you can see, the temperature went from a toasty 83 Celsius, down to 51 Celsius with the fan running. Please keep in mind these temperatures are after the latest firmware update which reduces operating temps.

Fan Connection

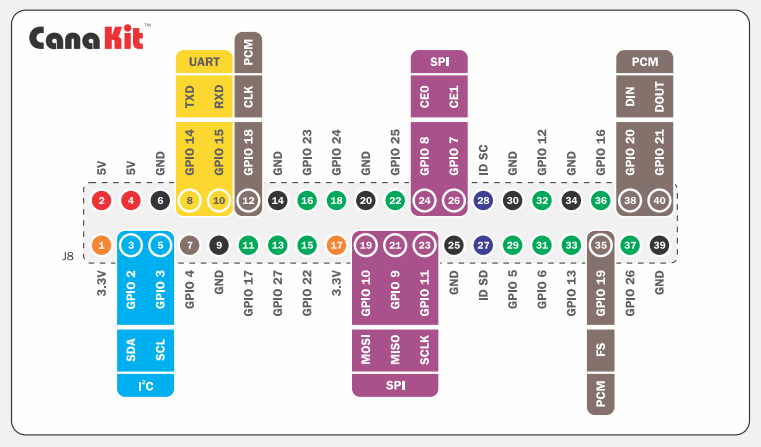
One thing that wasn’t included with the kit, was what pins to connect the PI cooling fan to. If you look at the manual included, or the GPIO pin out schematics, you’ll see that a 5V is available on pin 4, and ground is available right next to it on pin 6.

CanaKit Raspberry Pi 4 Quick Start Guide GPIO Pin-out

You can view the CanaKit Raspberry Pi 4 Quick Start guide here: https://www.canakit.com/Media/CanaKit-Raspberry-Pi-Quick-Start-Guide-4.0.pdf

I hooked my black wire up to ground (pin 6) first, and then connected the red wire up to the 5v pin 4.

CanaKit Raspberry Pi 4 Open with Fan Kit

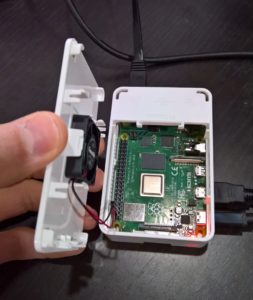
Make sure you don’t cross or use the wrong pins or you may damage your Raspberry Pi!

Mar 162020
 
Picture of Raspberry Pi 4 box and Raspberry Pi 4 board below box

So you just loaded up Ubuntu Server on your Raspberry Pi 4 using the latest Ubuntu Server Pi image and when you try logging in with the default username and password of ubuntu:ubuntu, you get the error “Authentication token Manipulation error” when you try to change the default password and log in.

This occurs on a fresh image write to an SD card using the Ubuntu 18.04.4 LTS 64-bit image. This may occur on other images and other versions of Ubuntu and other versions of the Raspberry Pi.

The filename for the image with the issue is:

ubuntu-18.04.4-preinstalled-server-arm64+raspi3.img.xz

How to Fix

After doing some research, I found out that there was an issue with a password file or the PAM database on the image. I figured that it was best to try to log in first using the default credentials, and then we can worry about changing the password later.

To do this I decided to modify the “cloud-init” scripts. I mounted the SD-Card on another Linux system, opened the “/boot/firmware/user-data”, and changed the “expire” setting on the ubuntu user from true to false.

The Instructions

  1. Mount the SD-Card on another Linux system.
  2. Navigate to the boot filesystem, and then open the “user-data” file inside of the firmware directory using nano or vi. The full path on the SD-Card is:
    /boot/firmware/user-data
  3. Scroll down to this section.
    chpasswd:
      expire: true
      list:
      - ubuntu:ubuntu

    Change the “expire: true” to “expire: false”.
  4. Exit the file and save.
  5. Properly unmount the SD-Card (using umount).
  6. Boot up the Pi with the Micro-SD card.

You should now be able to log in using the username ubuntu and password ubuntu without being asked to change your password, and without seeing the error.

Once you have logged in, change the password to this account by using “passwd”.

Hope it helps!