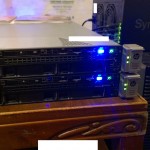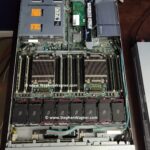
A few months ago, you may have seen my post detailing my experience with ESXi 7.0 on HP Proliant DL360p Gen8 servers. I now have an update as I have successfully loaded ESXi 8.0 on HPE Proliant DL360p Gen8 servers, and want to share my experience.
It wasn’t as eventful as one would have expected, but I wanted to share what’s required, what works, and stability observations.
Please note, this is NOT supported and NOT recommended for production environments. Use the information at your own risk.
A special thank you goes out to William Lam and his post on Homelab considerations for vSphere 8, which provided me with the boot parameter required to allow legacy CPUs.
ESXi on the DL360p Gen8
With the release of vSphere 8.0 Update 1, and all the new features and functionality that come with the vSphere 8 release as a whole, I decided it was time to attempt to update my homelab.
In my setup, I have the following:
- 2 x HPE Proliant DL360p Gen8 Servers
- Dual Intel Xeon E5-2660v2 Processors in each server
- USB and/or SD for booting ESXi
- No other internal storage
- NVIDIA A2 vGPU (for use with VMware Horizon)
- External SAN iSCSI Storage
Since I have 2 servers, I decided to do a fresh install using the generic installer, and then use the HPE addon to install all the HPE addons, drivers, and software. I would perform these steps on one server at a time, continuing to the next if all went well.
I went ahead and documented the configuration of my servers beforehand, and had already had upgraded my VMware vCenter vCSA appliance from 7U3 to 8U1. Note, that you should always upgrade your vCenter Server first, and then your ESXi hosts.
To my surprise the install went very smooth (after enabling legacy CPUs in the installer) on one of the hosts, and after a few days with no stability issues, I then proceeded and upgraded the 2nd host.
I’ve been running with 100% for 25+ days without any issues.
The process – Installing ESXi 8.0
I used the following steps to install VMware vSphere ESXi 8 on my HP Proliant Gen8 Server:
- Download the Generic ESXi installer from VMware directly.
- Link: Download VMware vSphere
- Download the “HPE Custom Addon for ESXi 8.1”.
- Link: HPE Custom Addon for ESXi 8.0 U1 June 2023
- Other versions of the Addon are here: HPE Customized ESXi Image.
- Boot server with Generic ESXi installer media (CD or ISO)
- IMPORTANT: Press “Shift + o” (Shift key, and letter “o”) to interrupt the ESXi boot loader, and add “AllowLegacyCPU=true” to the kernel boot parameters.
- Continue to install ESXi as normal.
- You may see warnings about using a legacy CPU, you can ignore these.
- Complete initial configuration of ESXi host
- Mount NFS or iSCSI datastore.
- Copy HPE Custom Addon for ESXi zip file to datastore.
- Enable SSH on host (or use console).
- Place host in to maintenance mode.
- Run “esxcli software vib install -d /vmfs/volumes/datastore-name/folder-name/HPE-801.0.0.11.3.1.1-Jun2023-Addon-depot.zip” from the command line.
- The install will run and complete successfully.
- Restart your server as needed, you’ll now notice that not only were HPE drivers installed, but also agents like the Agentless management agent, and iLO integrations.
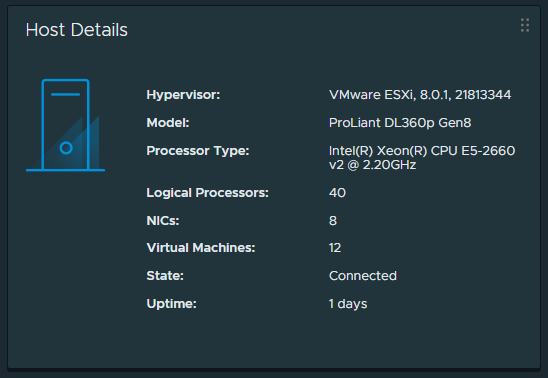
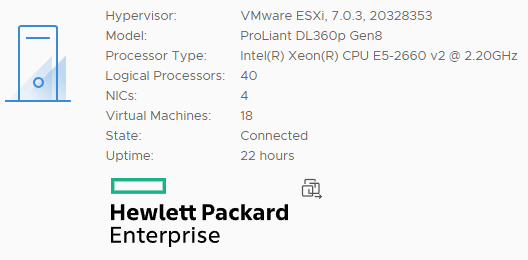
After that, everything was good to go… Here you can see version information from one of the ESXi hosts:
What works, and what doesn’t
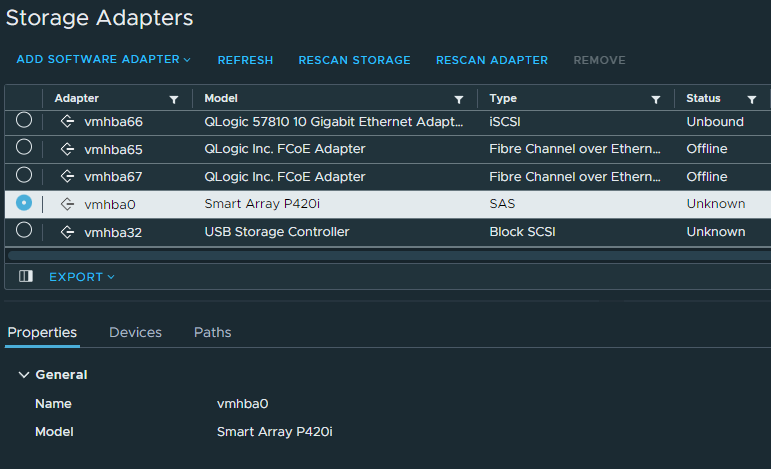
I was surprised to see that everything works, including the P420i embedded RAID controller. Please note that I am not using the RAID controller, so I have not performed extensive testing on it.
All Hardware health information is present, and ESXi is functioning as one would expect if running a supported version on the platform.
Additional Information
Note that with vSphere 8, VMware is deprecating vLCM baselines. Your focus should be to update your ESXi instances using cluster image based update images. You can incorporate vendor add-ons and components to create a customized image for deployment.
