Well, today I was cleaning up and found an old Linksys SPA-3102 device that I purchased 3-4 years ago. I originally purchased this device to connect my Trixbox (Asterisk) PBX to my land line at my house.
The SPA-3102 is a device manufactured by Linksys/Cisco that provides one FXS terminal, and one FXO terminal. This device can connect your PSTN phone line to your VoIP PBX, and it can also allow you to connect a standard phone to your VoIP PBX as an extension, all at the same time.
While I wasn’t to happy with performance of the solution, nonetheless I figured it out and got it running. I decided to write up a little blog post as a How-To get the SPA-3102 working with Trixbox. This solution is mostly just a bunch of config, so excuse the lack of How-To and the bulk of config dumps:
Update (2017): This also works on new versions of FreePBX Asterisk Linux Distro. I can confirm T.38 faxing works on the FXO line, but have not been able to get it working on the FXS PSTN line (fails to re-negotiate).
1) Configure the Asterisk extension (this configures the line you hook up to a phone on the SPA-3102):
Create a extension inside of Trixbox or FreePBX. Leave everything default except:
Display Name: Fax Machine (change this to whatever you want)
Extension: 199
secret: password (choose you password)
canreinvite: yes
host: dynamic
type: friend
nat: yes
qualify: yes
2) Configure the Asterisk Trunk for the SPA-3102
Go to the Trunk Menu inside of Trixbox or FreePBX PBX configuration. Add a new SIP Trunk. Leave settings default except:
Outbound Caller ID: 1234567890 (Change the number to your PSTN line, if the number doesn’t match, it could break things)
Trunk Name: spa3102
PEER Details:
username=spa3102
type=friend
secret=P4SSw0rdz (replace with your password)
qualify=yes
port=5062
nat=no
host=dynamic
dtmfmode=rfc2833
context=from-trunk
canreinvite=yes
3) Configure Outbound and Inbound Routes
The configuration for the Outbound route is normal and doesn’t require any special configuration other than the normal outbound route you’d normally create for a trunk. However, the Inbound route does require special attention. When creating the Inbound route, make sure that the DID Number value exactly matches the 10 digit number you configure for the PSTN. This is how it will recognize this and categorize the incoming call under that specific inbound route.
4) Now for the SPA-3102 Configuration
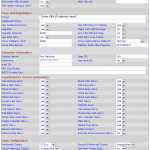
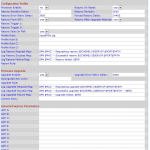
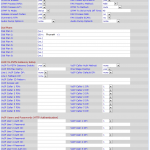
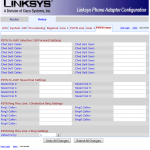
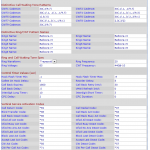
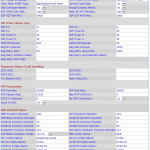
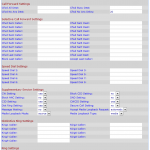
There’s no way I’m writing all the config out for the SPA-3102, so instead I took screenshots for each tab that requires configuration.
And Voila!
You now have your SPA-3102 configured to both act as an extension and a gateway to the PSTN. If anyone has any better configuration please write a comment, I’d love to update this article, and I’d like to get this working better than it currently is of possible. One additional note: When the SPA3102 is factory reset, it’s default settings are optimized for the North America region.

