
In the last few months, my company (Digitally Accurate Inc.) and our sister company (Wagner Consulting Services), have been working on a number of new cool projects. As a result of this, we needed to purchase more servers, and implement an enterprise grade SAN. This is how we got started with the HPE MSA 2040 SAN (formerly known as the HP MSA 2040 SAN), specifically a fully loaded HPE MSA 2040 Dual Controller SAN unit.
The Purchase
For the server, we purchased another HPE Proliant DL360p Gen8 (with 2 X 10 Core Processors, and 128Gb of RAM, exact same as our existing server), however I won’t be getting that in to this blog post.
Now for storage, we decided to pull the trigger and purchase an HPE MSA 2040 Dual Controller SAN. We purchased it as a CTO (Configure to Order), and loaded it up with 4 X 1Gb iSCSI RJ45 SFP+ modules (there’s a minimum requirement of 1 4-pack SFP), and 24 X HPE 900Gb 2.5inch 10k RPM SAS Dual Port Enterprise drives. Even though we have the 4 1Gb iSCSI modules, we aren’t using them to connect to the SAN. We also placed an order for 4 X 10Gb DAC cables.
To connect the SAN to the servers, we purchased 2 X HPE Dual Port 10Gb Server SFP+ NICs, one for each server. The SAN will connect to each server with 2 X 10Gb DAC cables, one going to Controller A, and one going to Controller B.
HPE MSA 2040 Configuration
I must say that configuration was an absolute breeze. As always, using intelligent provisioning on the DL360p, we had ESXi up and running in seconds with it installed to the on-board 8GB micro-sd card.
I’m completely new to the MSA 2040 SAN and have actually never played with, or configured one. After turning it on, I immediately went to HPE’s website and downloaded the latest firmware for both the drives, and the controllers themselves. It’s a well known fact that to enable iSCSI on the unit, you have to have the controllers running the latest firmware version.
Turning on the unit, I noticed the management NIC on the controllers quickly grabbed an IP from my DHCP server. Logging in, I found the web interface extremely easy to use. Right away I went to the firmware upgrade section, and uploaded the appropriate firmware file for the 24 X 900GB drives. The firmware took seconds to flash. I went ahead and restarted the entire storage unit to make sure that the drives were restarted with the flashed firmware (a proper shutdown of course).
While you can update the controller firmware with the web interface, I chose not to do this as HPE provides a Windows executable that will connect to the management interface and update both controllers. Even though I didn’t have the unit configured yet, it’s a very interesting process that occurs. You can do live controller firmware updates with a Dual Controller MSA 2040 (as in no downtime). The way this works is, the firmware update utility first updates Controller A. If you have a multipath (MPIO) configuration where your hosts are configured to use both controllers, all I/O is passed to the other controller while the firmware update takes place. When it is complete, I/O resumes on that controller and the firmware update then takes place on the other controller. This allows you to do online firmware updates that will result in absolutely ZERO downtime. Very neat! PLEASE REMEMBER, this does not apply to drive firmware updates. When you update the hard drive firmware, there can be ZERO I/O occurring. You’d want to make sure all your connected hosts are offline, and no software connection exists to the SAN.
Anyways, the firmware update completed successfully. Now it was time to configure the unit and start playing. I read through a couple quick documents on where to get started. If I did this right the first time, I wouldn’t have to bother doing it again.
I used the wizards available to first configure the actually storage, and then provisioning and mapping to the hosts. When deploying a SAN, you should always write down and create a map of your Storage area Network topology. It helps when it comes time to configure, and really helps with reducing mistakes in the configuration. I quickly jaunted down the IP configuration for the various ports on each controller, the IPs I was going to assign to the NICs on the servers, and drew out a quick diagram as to how things will connect.
Since the MSA 2040 is a Dual Controller SAN, you want to make sure that each host can at least directly access both controllers. Therefore, in my configuration with a NIC with 2 ports, port 1 on the NIC would connect to a port on controller A of the SAN, while port 2 would connect to controller B on the SAN. When you do this and configure all the software properly (VMWare in my case), you can create a configuration that allows load balancing and fault tolerance. Keep in mind that in the Active/Active design of the MSA 2040, a controller has ownership of their configured vDisk. Most I/O will go through only to the main controller configured for that vDisk, but in the event the controller goes down, it will jump over to the other controller and I/O will proceed uninterrupted until your resolve the fault.
First part, I had to run the configuration wizard and set the various environment settings. This includes time, management port settings, unit names, friendly names, and most importantly host connection settings. I configured all the host ports for iSCSI and set the applicable IP addresses that I created in my SAN topology document in the above paragraph. Although the host ports can sit on the same subnets, it is best practice to use multiple subnets.
Jumping in to the storage provisioning wizard, I decided to create 2 separate RAID 5 arrays. The first array contains disks 1 to 12 (and while I have controller ownership set to auto, it will be assigned to controller A), and the second array contains disk 13 to 24 (again ownership is set to auto, but it will be assigned to controller B). After this, I assigned the LUN numbers, and then mapped the LUNs to all ports on the MSA 2040, ultimately allowing access to both iSCSI targets (and RAID volumes) to any port.
I’m now sitting here thinking “This was too easy”. And it turns out it was just that easy! The RAID volumes started to initialize.
VMware vSphere Configuration
At this point, I jumped on to my vSphere demo environment and configured the vDistributed iSCSI switches. I mapped the various uplinks to the various portgroups, confirmed that there was hardware link connectivity. I jumped in to the software iSCSI imitator, typed in the discovery IP, and BAM! The iSCSI initiator found all available paths, and both RAID disks I configured. Did this for the other host as well, connected to the iSCSI target, formatted the volumes as VMFS and I was done!
I’m still shocked that such a high performance and powerful unit was this easy to configure and get running. I’ve had it running for 24 hours now and have had no problems. This DESTROYS my old storage configuration in performance, thankfully I can keep my old setup for a vDP (VMWare Data Protection) instance.
HPE MSA 2040 Pictures
I’ve attached some pics below. I have to apologize for how ghetto the images/setup is. Keep in mind this is a test demo environment for showcasing the technologies and their capabilities.
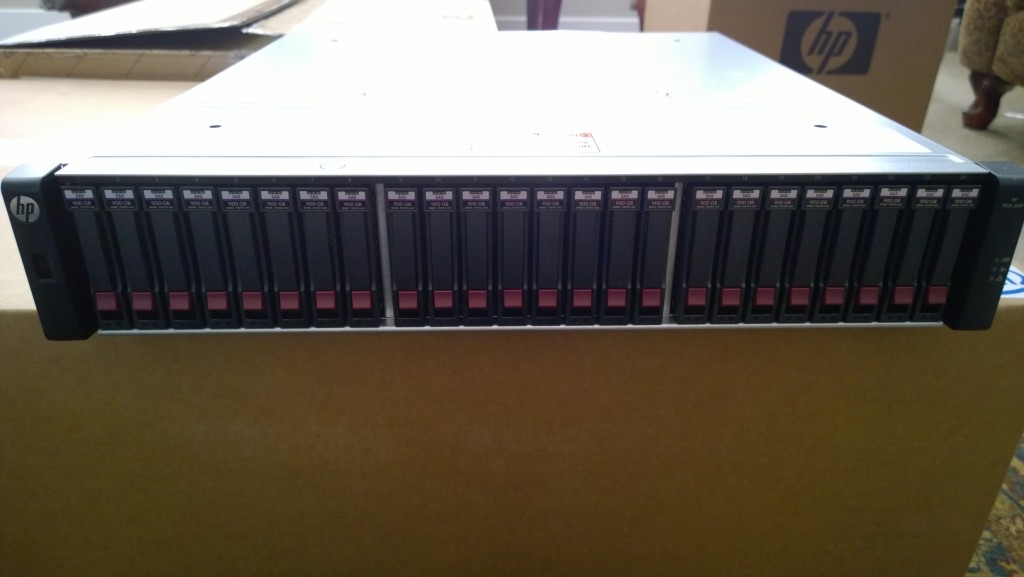
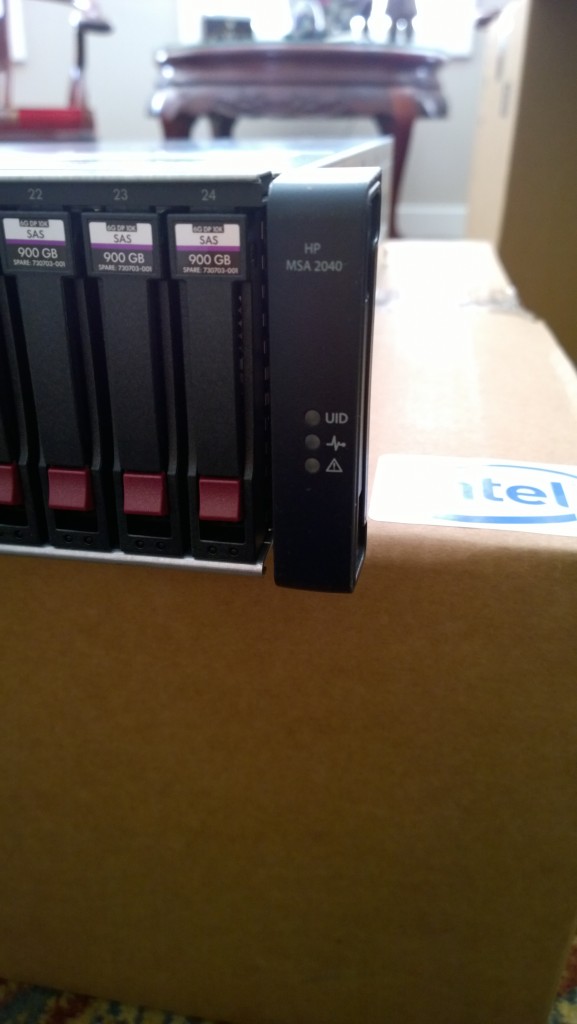
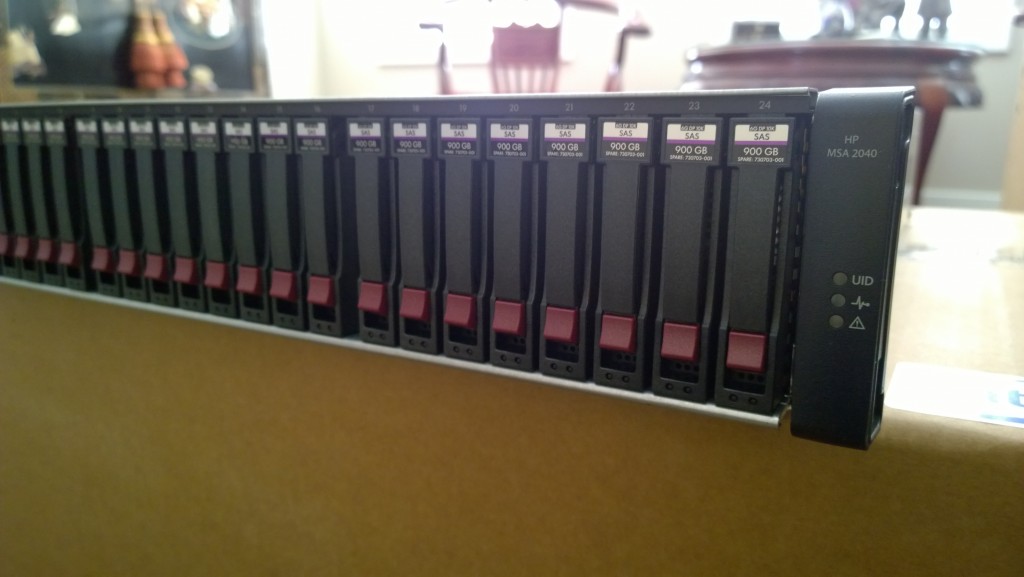
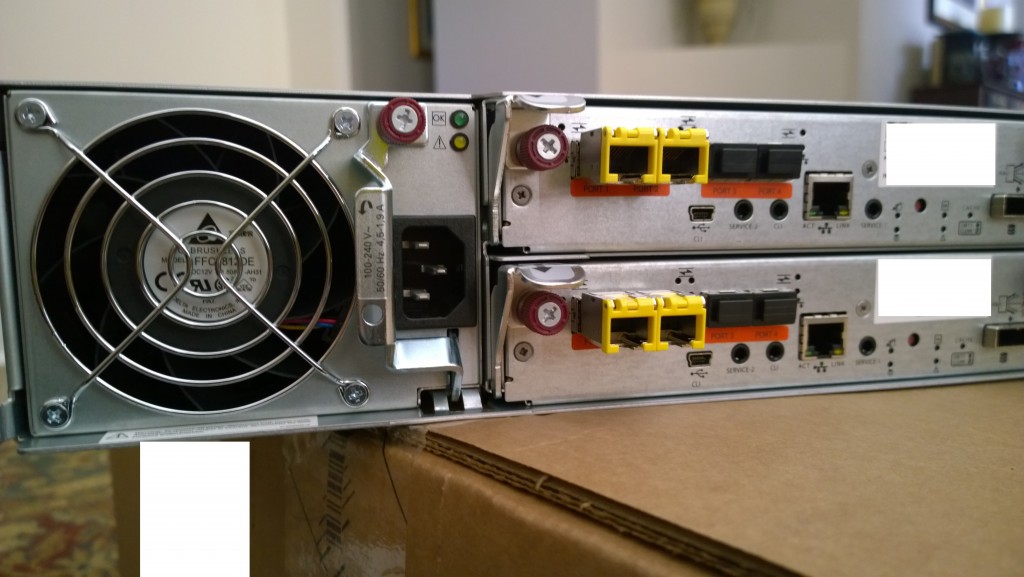
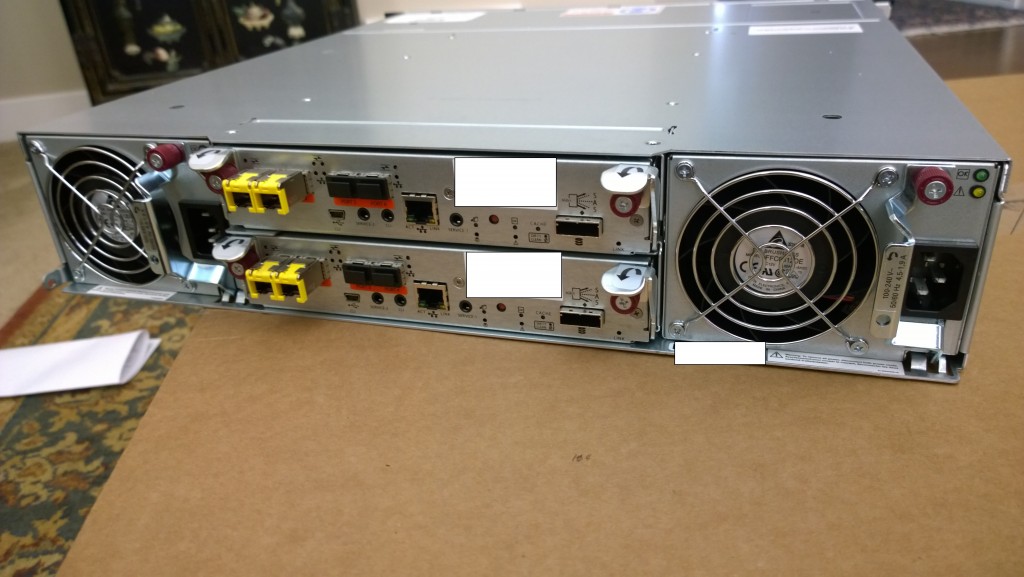
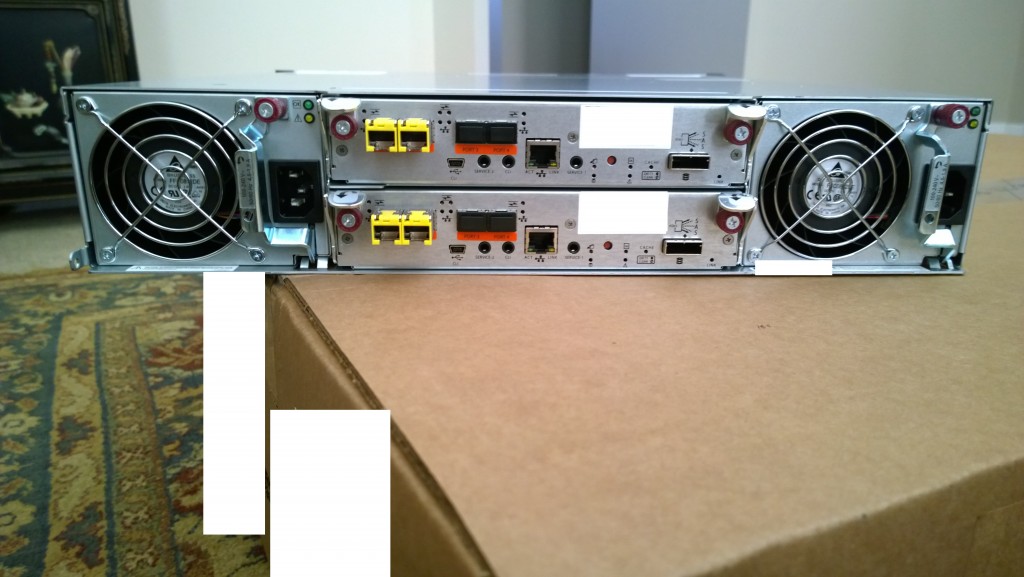
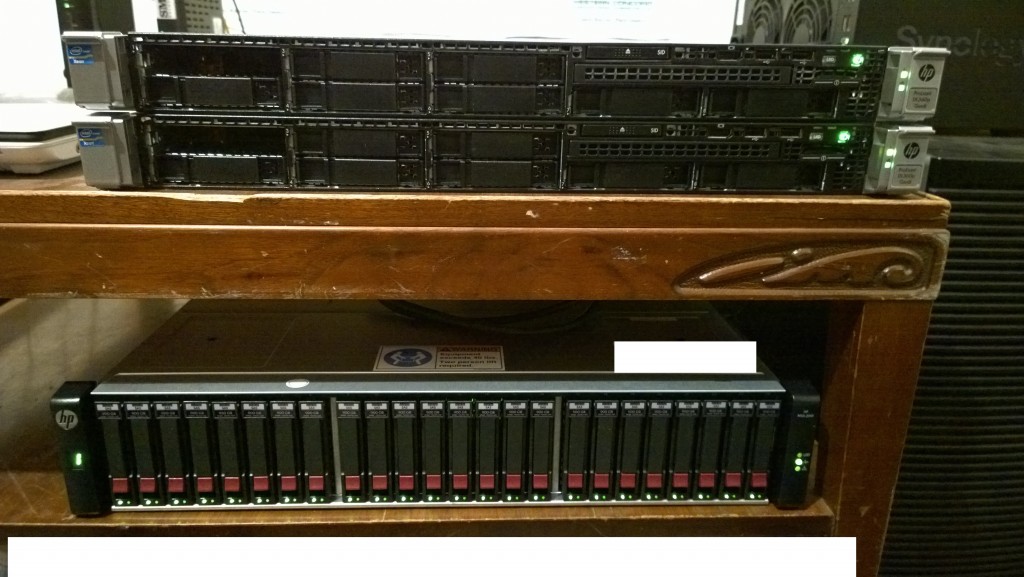
HP MSA 2040 Dual Controller SAN
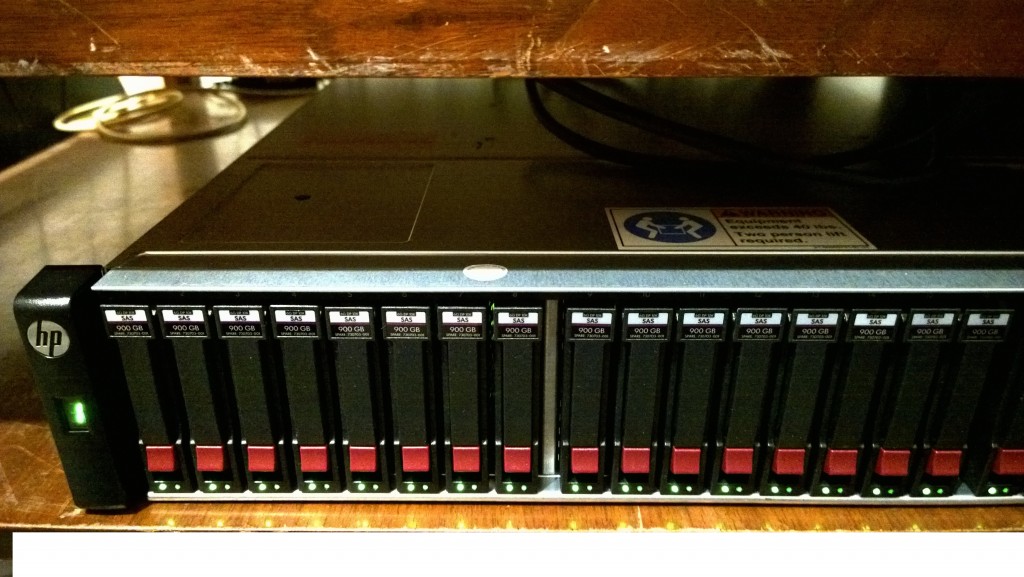
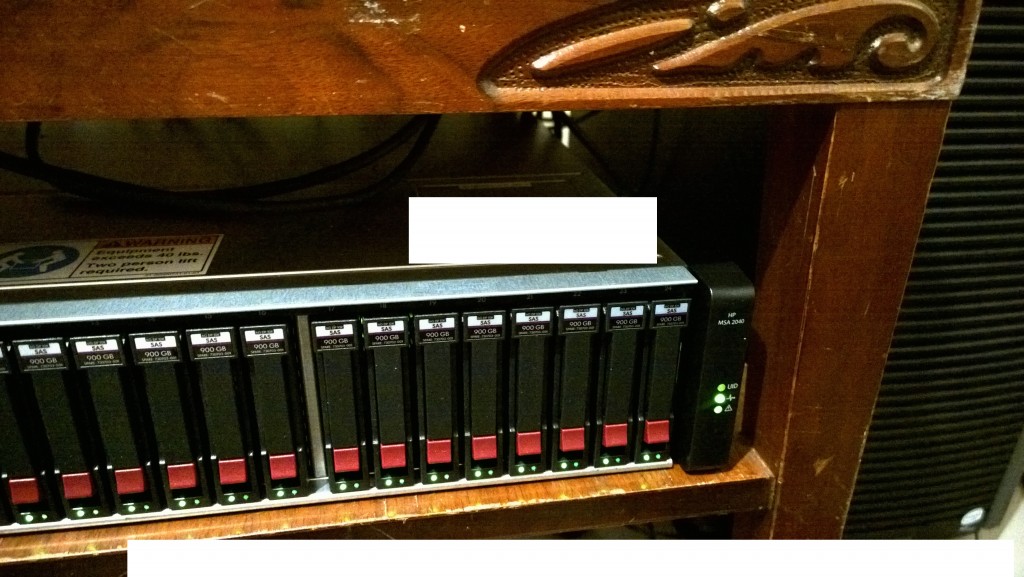
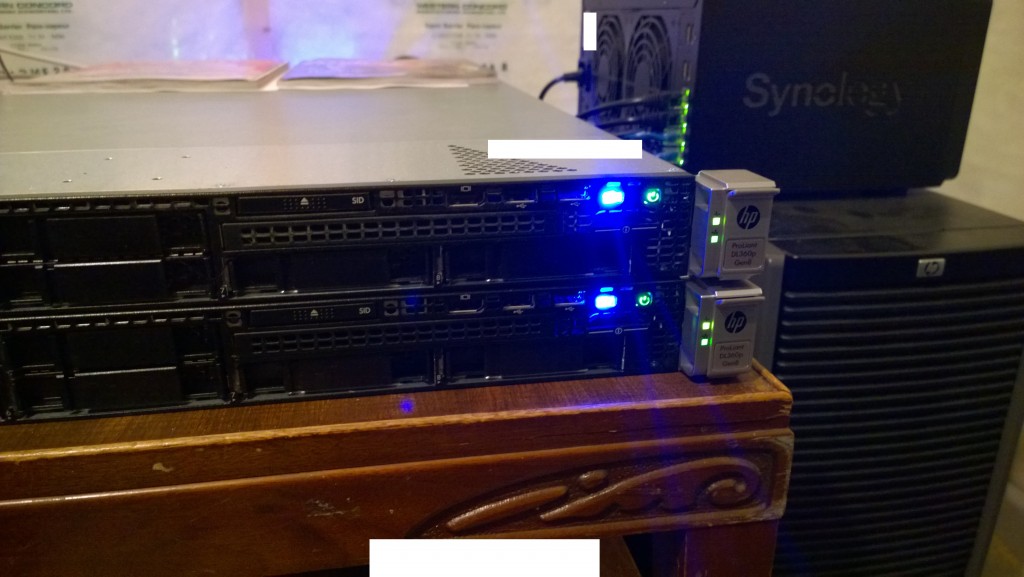
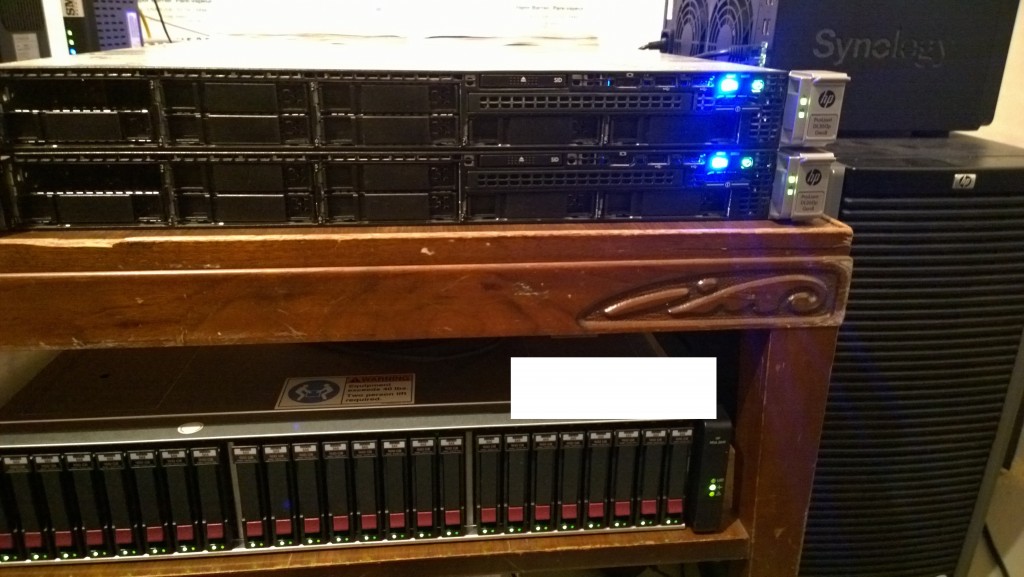
HP MSA 2040 Dual Controller SAN
VMWare vSphere
Update: HPE has updated the MSA product line and the 2040 has now been replaced by the HPE MSA 2050 SAN Dual Controller SAN. There are now also SSD Cache models such as the HPE MSA 2052 Dual Controller SAN.